Showing posts with label tutorial. Show all posts

Monday, April 12, 2010

TOPIARY WITH A TWIST...

so...i found these cute little buckets in the dollar spot at target...and the wheels started turning...i wanted to do a topiary...but not your ordinary one...i grabbed a bath scrubbie and started to create!...now...i filled the bucket up with bath confetti...but you can put whatever in it!...candy, bath salts, anything you can think of!...topped this little cutie off with a butterfly from the give a hoot cart...but again...whatever you want to slap on there...got for it!...


wanna know how it's done?...well...here's a tutorial that i whipped up...

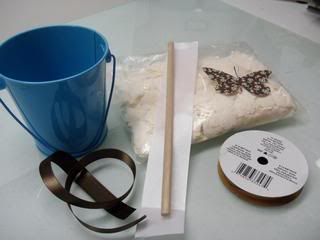
you'll need...
wooden dowel cut at 9"
ribbon to cover dowel...or paint it...whichever is easiest...
empty cardboard ribbon thingie (sorry for the technical term...lol)
ribbon for bow
whatever goodies to fill bucket...
embellies to make it look purty
bucket...i know this isn't the one in the rest of the tutorial...had to take a pic afterwards...so think of this as a stunt bucket...
Photobucket

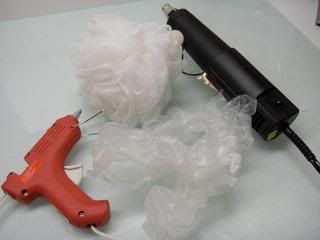
you also need:
heat gun
oops...forgot the shrink wrap...but you'll need that or cello
glue gun
bath scrubbie
plastic wrap, paper towels, or whatever to use as a pre filler
Photobucket


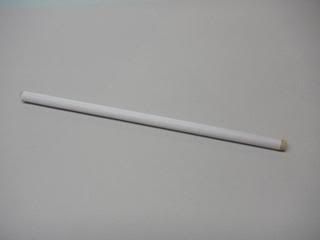
first you want to prep the wooden dowel...i covered with ribbon...but you can certainly paint it...
Photobucket


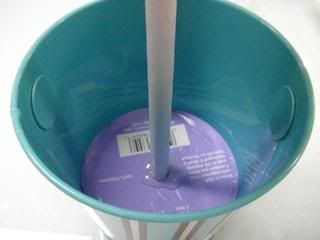
next..you'll want to take empty ribbon thingie and hot glue the dowel into the hole...i actually do this when it's inside the bucket...just push the ribbon thingie as far down as it'll go...then insert the dowel...make sure it's straight and hot glue away...
Photobucket


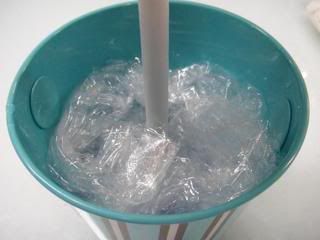
then...you'll want to take either your saran wrap or whatever you're using to kinda fill in before adding your goodies...you know...something to take up space...other than our husbands!...ohhh...sorry...i just had to...
Photobucket


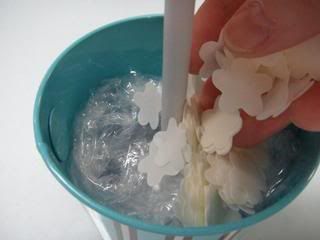
now it's time to add the goodies...like i said...i used bath confetti...but sky's the limit on what you want to use...
Photobucket


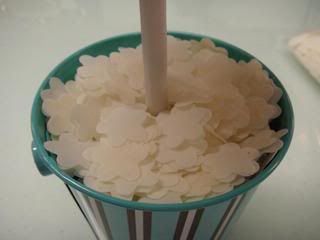
fill all the way to the top...

Photobucket


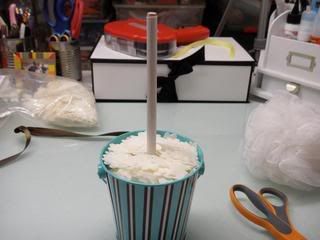
here's what you should have...a headless topiary...nevermind the mess...just focus on the project...hee hee...
Photobucket


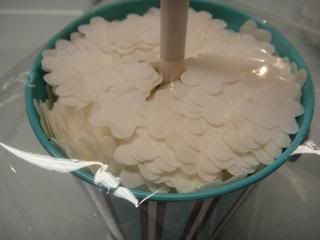
now you'll take your shrink wrap...making sure that it'll cover the sides of the bucket all the way to underneath it...find the center of it...and cut a tiny circle...just big enough to fit around the dowel...i folded it in half...used a hole punch...and then trimmed a little bit more to get the size i needed...slip the dowel through the hole and slide all the way until it's flat on the confetti...
Photobucket


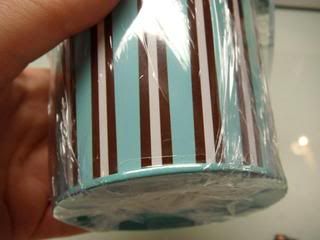
this is the point where you'll take all the shrink wrap and smooth down the sides of the bucket and tape underneath...then you'll take your heat gun and shrink away...but you can certainly use cello for another look!...you'll just cut a square big enough...gather up and tie!...now this pic is post shrinking...but you can see how it's taped underneath...only heat up the sides and top...don't worry about the bottom...if it's not sitting level...then maybe hit it with some heat...
Photobucket


take your bath scrubbie and put on top of dowel...
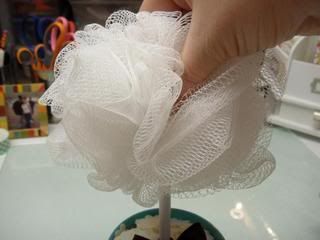
Photobucket


add your butterfly (woah...where'd his antennae go?) and bow at base and you're done!...
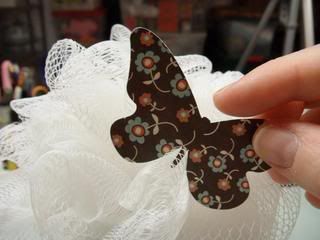
Photobucket


***like i said before...anything is interchangeable with the project!...i just wanted to keep with a bath type theme...so that's why i used the confetti...also...i mentioned that you can you cello to wrap it up...since the bow's at the base (cleverly disguises the hole) it's nothing to have it gathered up with a bow!...let me know if you have any questions!...or if my directions were crappy!...

Sunday, April 4, 2010

HERE'S YOUR FIVE SERVINGS OF FRUIT FOR THE DAY...

saw how to do these little cute stamped tea light candles on not so idle hands and just had to try them...the others were done with christmas type stamps...but i thought some fruit slices would be super cute!...


here's what to do to make your own!...

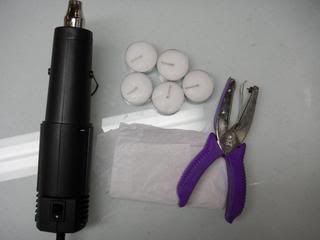
you need to start out with tissue paper, heat tool, tea light candles, and a super tiny hole punch...

Photobucket

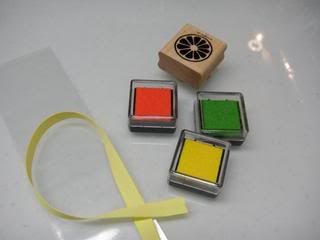
then you'll need your inks, stamp (i used the fruit slice from stampin up's tart & tangy), pretzel bag, and whatever ribbon you want to tie 'em up with...

Photobucket

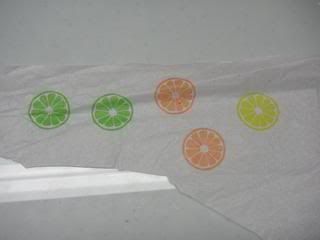
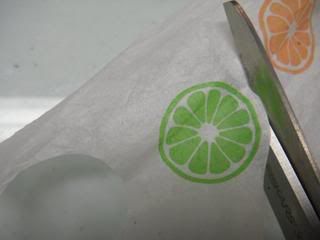
stamp your images on the tissue paper...

Photobucket

cut around images...making sure that the tissue paper will fit on the candle...

Photobucket

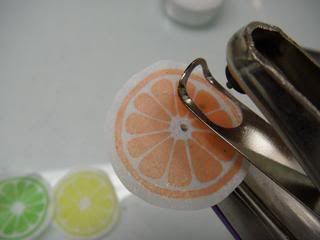
punch holes in center with tiny hole punch...

Photobucket

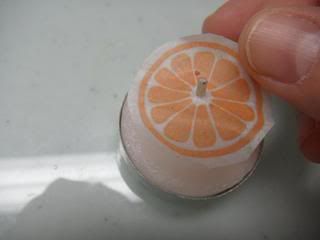
slip tissue paper onto the candle putting the wick through the hole...

Photobucket

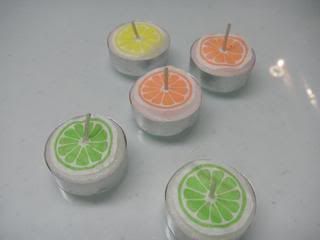
here's all the candles ready to roll...

Photobucket

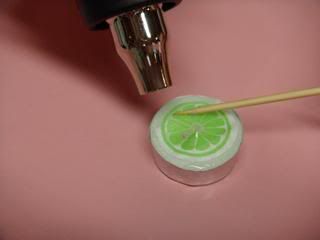
using your heat gun...and a wooden skewer...it gets hot!...adhere the tissue paper to the candle...it'll have a glossy almost melted look to 'em...make sure you get all the wrinkles out when heating...want it to be as smooth as possible...

Photobucket

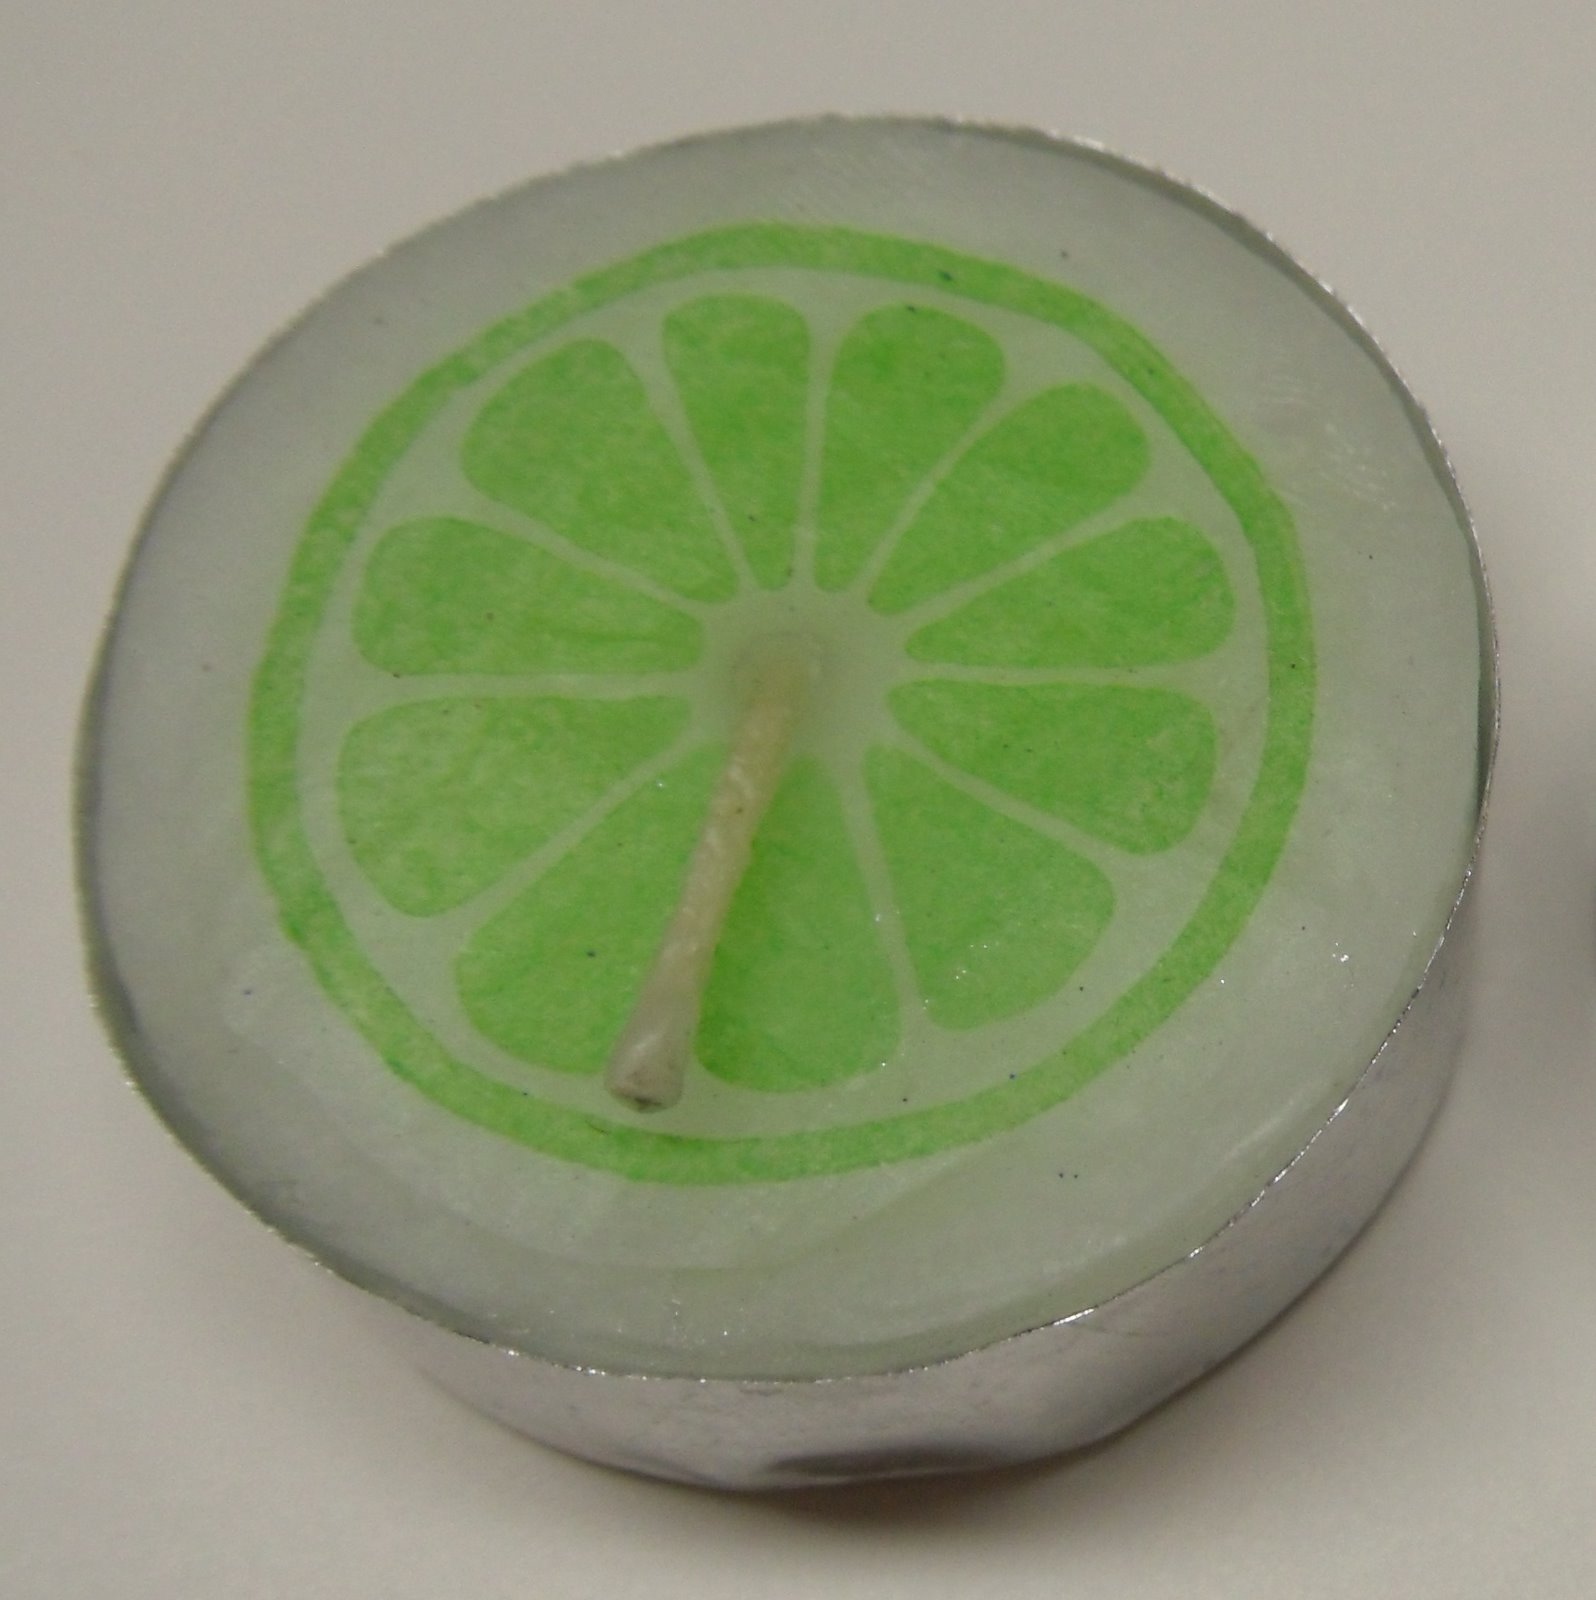
let cool and there you go!...here's the finished product!...


****to package up...just slip candles into a pretzel bag and tie up!...oh...forgot to mention...these are really for decoration only...but...you could melt the wax and remove the design if you wanted to the burn candle...

Saturday, March 27, 2010

FOR YOUR VIEWING PLEASURE...

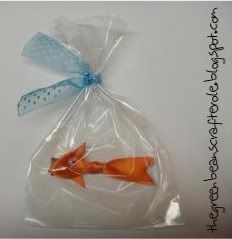
well...you asked for a how to vid on the fishy barrettes...and i had to do what the people wanted!...lol...now keep in mind...this is my first vid...so bear with me!..and you can only watch it if you promise not to make fun of me!...i realize i have alot to learn on the movie making business...but i think from what a managed to actually get on camera...you'll be able to make one of these!...lol...enoy!...

Photobucket


Sunday, March 14, 2010

RECIPE FOR FUZZY SOCK CUPCAKES...

ok...so maybe you're wondering how i did the little cupcakes...and...i i guess i'll be nice enough to share...hee hee...

here's the supplies you need...fuzzy socks...red pom pom (that's the cherry)...rubber bands (the smaller the better)...and a cupcake wrapper cut at 4"...i used the cricut easter mini cart...but i know there's a couple of cut files floating around!...check rachie's scrapspot...she's got tons of 'em!...all different sizes!...

Photobucket

with the socks right on top of each other...and the heel pointing up...start at the toe and roll...

Photobucket

just keep rolling...

Photobucket

still rolling...make sure to keep the bottom edge as straight at you can...


Photobucket

finished rolling...place rubber band around...sorta near the bottom...i know i had 2 rubber bands in the supply pics....but i only used one...

Photobucket


pull up the center a bit...just to give it a little bit more shape...


Photobucket

then i just adjust to make more of a "frosting look"...

Photobucket

tuck the pom pom in the center of roll...

Photobucket

you don't have to put anything in the bottom...it all stays in there!...that's another reason why when i'm rolling i keep the bottom straight...so it has a flat bottom...

Photobucket

and there you go!...one cutie patootie cupcake!...

Photobucket

if you want to gift wrap...you can grab a piece of cellophone...gather up and tie with a ribbon...like this little guy...

Photobucket

hope this helps...enjoy!...
Related Posts with Thumbnails