Showing posts with label tutorial. Show all posts

Saturday, March 17, 2012

PINCH PROOF POLISH

well...'tis the season for green!...and realized that i needed a little something something to make me pinch proof...so i decided to do up my own glitter nail polish!...

diy glitter nail polish

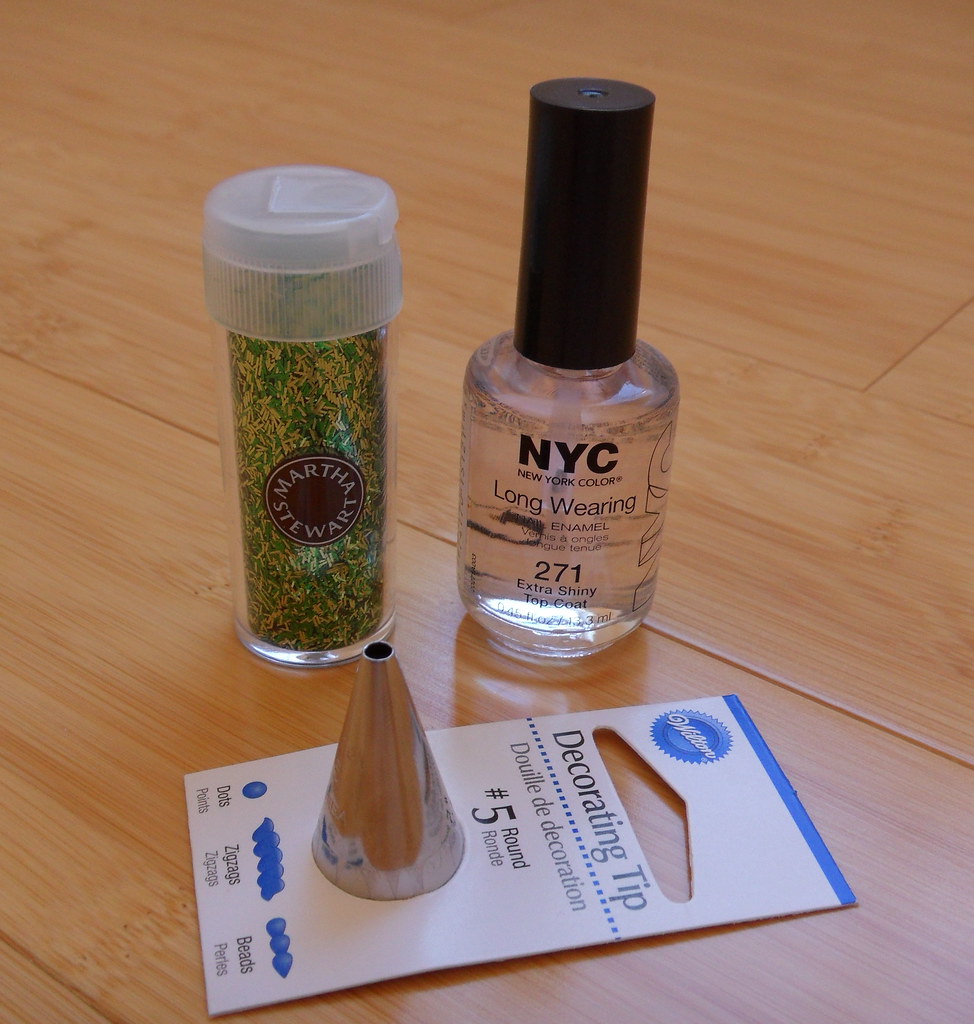
best part...only three supplies are needed!...grab some clear nail polish...got mine at target for .99 cents...glitter...you can use whatever size you want...but i've been eyeing up this tinsel glitter in my collection for a while...and a cake decorating tip...mine came from michaels...a .99 cent price tag again...lol...

diy glitter nail polish

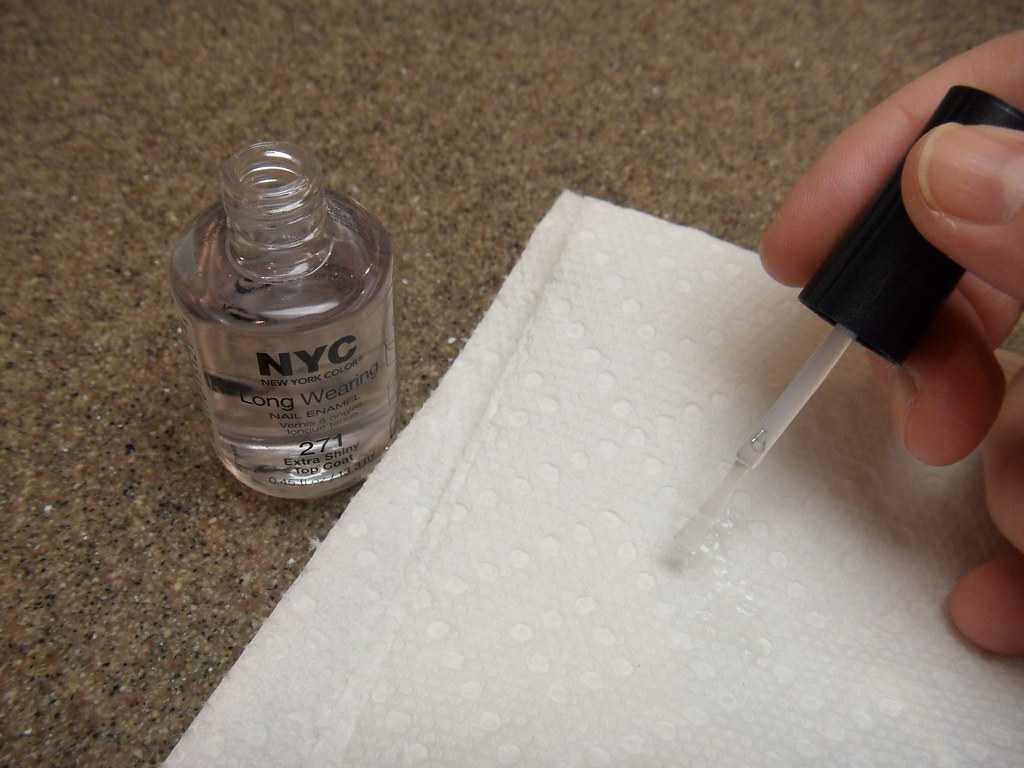
brush a little of the polish on a paper towel...this gives the glitter some room and avoid an overflow...

diy glitter nail polish

grab your decorating tip...this is your funnel...i found this to be the best because a little remover won't hurt when cleaning it up...and it stays put in the bottle...

diy glitter nail polish

then start adding your glitter!...if you're funnel clogs up...i just use a toothpick to "help" it in the bottle...

diy glitter nail polish

fill about a 1/3 of the bottle with glitter...put the cap on and start shaking!...

diy glitter nail polish

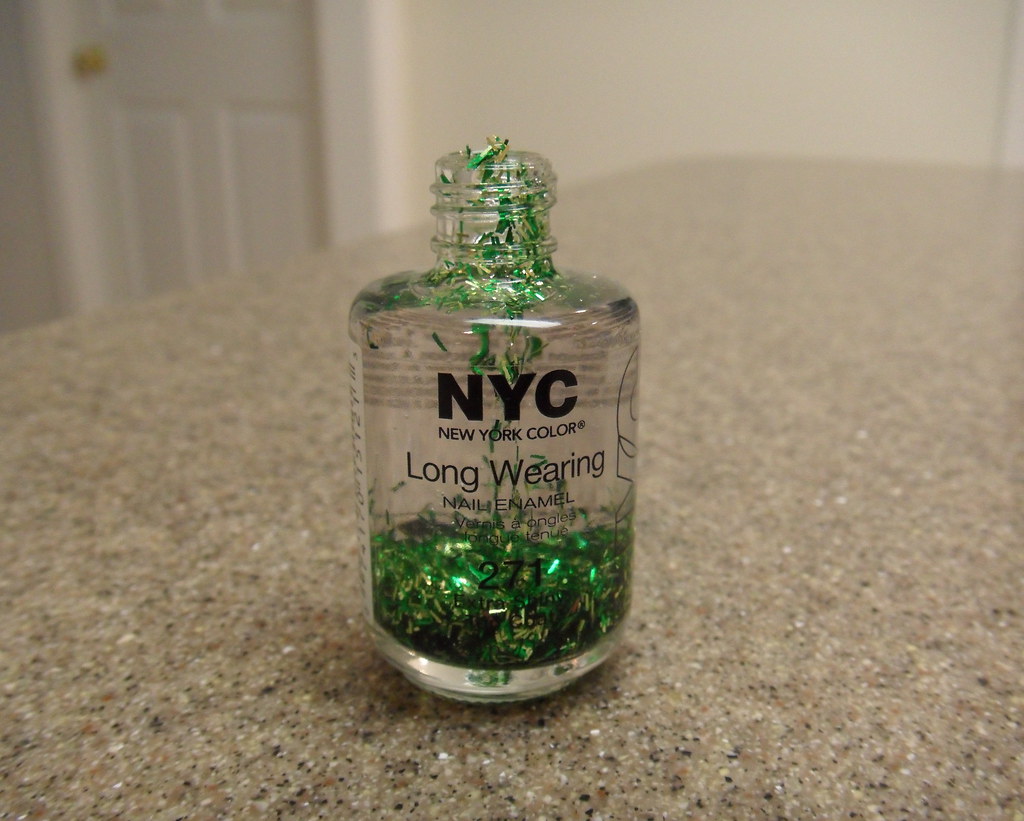
all done!...

diy glitter nail polish

now you'll have a little luck 'o the polish too!...and keep those pesky pinchers far away!...but don't stop at st. paddy's day!...imagine all the times that some glitter will make it better!...

oh...forgot to say...that the glitter will keep sinking to the bottom...but just give a little shake, shake , shake before using and you'll be fine!...also...depending on what kind of glitter you use...it can turn the polish a light shade of a color...don't worry...it's so faint...you can't even tell once on your nails!...

****check out my linky party directory to see where i'm linking to this week!...

Monday, January 23, 2012

SIGN OF THE {VALEN} TIME'S

wowsers...have i really been gone for over a month?...what the heck happened?...where'd the time go?...well...the bean has been under the weather...darn that vertigo!...insert fist shaking here...but now i'm all ready to get my craft on!...

so...how can you say those three little words without actually saying 'em?...in sign language!...and that's how this "i love you" shrinky pin came about!...what's that?...you've never worked with shrinky dinks?...well maybe this little cutie will change your mind!...

 
here's a close up!...this turned out better than i imagined!...

 
i wanted to keep it super simple with the inside...because the front of the card says it all!...

 
using the cricut and don juan cartridge...i cut the hand image at 4" inches...when i work with shrinky dinks...i like to use the deep cut blade...that way you'll know that it'll cut through...

now...don't worry...this can be done without a cutting machine...kick it old school and use scissors!...just trace one of the kiddies hands and take 'er from there!...then it really is a personalized keepsake!...

 
preheat your oven according to package directions...place the shrinky dink on a piece of brown paper bag and then place on a cookie sheet..when oven reaches temperature, put in oven...let bake for about 5 (like the hand's saying) to 10 minutes...they're going to start to curl...don't panic! that's just part of the dinking process!...

 
they're done shrinking when they're all flat again...grab a pencil and take dinks out of the oven...now bend the fingers down over the pencil...you're going to need to move quickly because they cool pretty fast...but don't worry...if this happens, just pop back in the oven and let them get soft again!...

 
all done...add a little heart sticker on there for the finishing touch!...

 
to make it a keepsake...i put a pin back on there!...just slap 'er on with some super glue!...

 
now do you think you're ready for shrinky dinks?...i sure hope so!...because how can you not love this?..


***supplies***
paper - the doodlin' around stack by dcwv
stamp - you had me at chocolate by my creative time with emma
shrinky dinks - for computer inkjet printers (michael's)

oopsie!...i forgot to give you all the machine settings for cutting!...

pressure - high
speed - medium
blade depth - 6
multi cut - 3

****check out my linky party directory to see where i'm linking to this week!...

Sunday, December 18, 2011

CANDLE COUTURE!

so...if you're like me...you kinda get tired of the same 'ol gift bag for odd shaped presents...well...with a trip to the "i don't wear anymore but can't seem to get rid of" pile in my closet got me thinking of a super cute way to dress up a candle!...

that's right...this guy is now sporting the the lastest fashion in winter wick wear...oh you didn't know?...teeny tiny toboggans and scarves are the rage!...and with just a couple of easy steps...you can have this candle couture too!...

teeny tiny toboggan

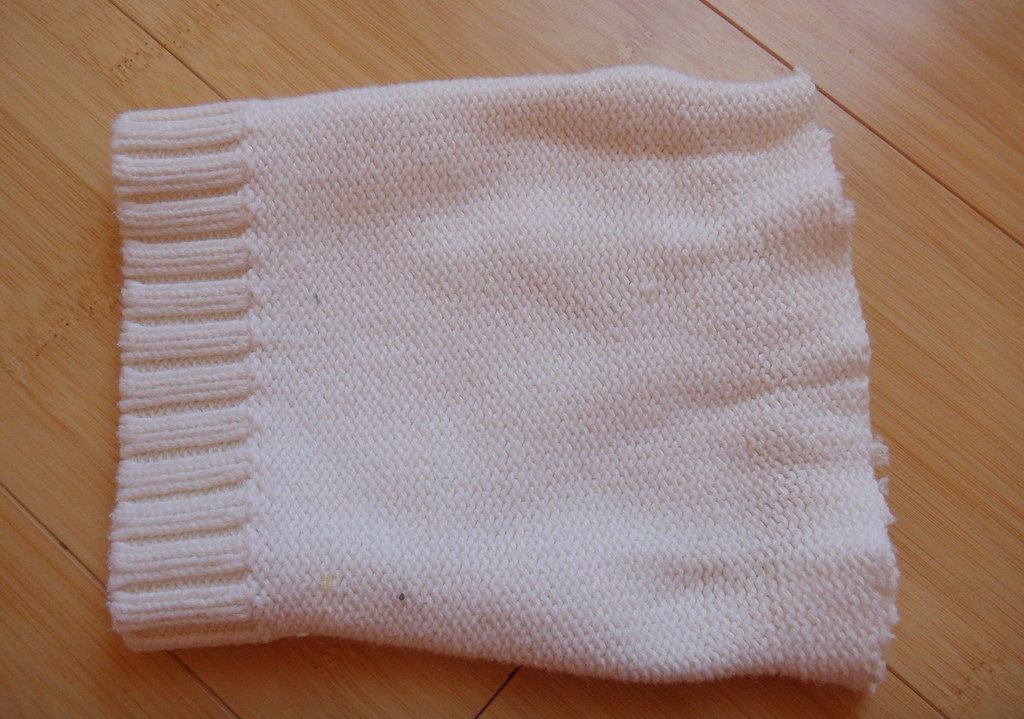
take an old sweater and turn it inside out...then cut about 6" inches off the sleeve...

step one

gather up the rough end and wrap a rubber band around there...

step 2

turn right side out and flip up the finished edge...now isn't that just the cutest darn thing?...pretty brrr-illiant if you ask me!...

finished

plop on top of your candle and finish 'er off with a ribbon scarf!...now it's all ready for gifting!...but you don't have go running to your closets and start cutting up sweaters...the more i thought about it...using socks would do the trick too!...

****check out my linky party directory to see where i'm linking to this week!...

Tuesday, December 13, 2011

A TART-WARMING GIFT

so...had some leftover wax i had from candle making that's been staring at me...after some thought...gathered up what supplies i needed and got my tart on!...i must say...i'm pretty darn proud!...they came out great and smell so amazing!...

now...the hardest thing about these little cuties is actually bringing yourself to melting them!...because if you keep reading...you'll see that making them is quite easy!...

soy tarts

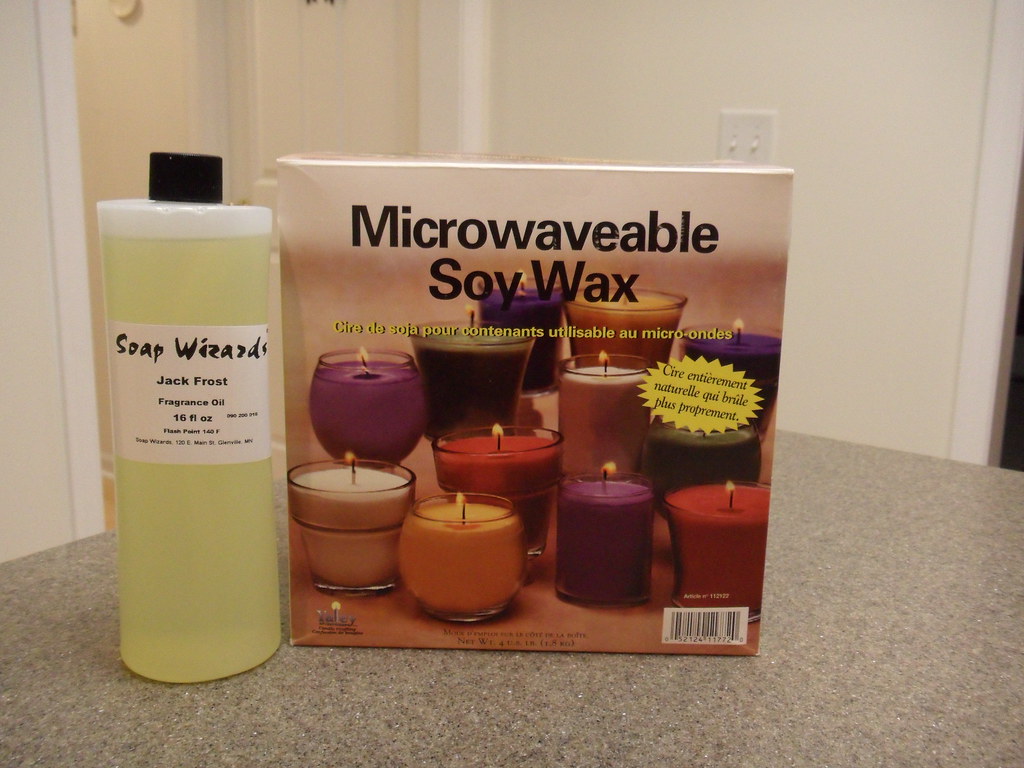
you'll need some wax flakes...got mine at michaels...they're soy...but normal paraffin would work too...and some fragrance oil specific for candles...it will be in the same area that the wax is...you really want to use the candle fragrance because it has a higher flashpoint...and although there won't be any flames near it...you still don't want the chance of fire...

soy tarts

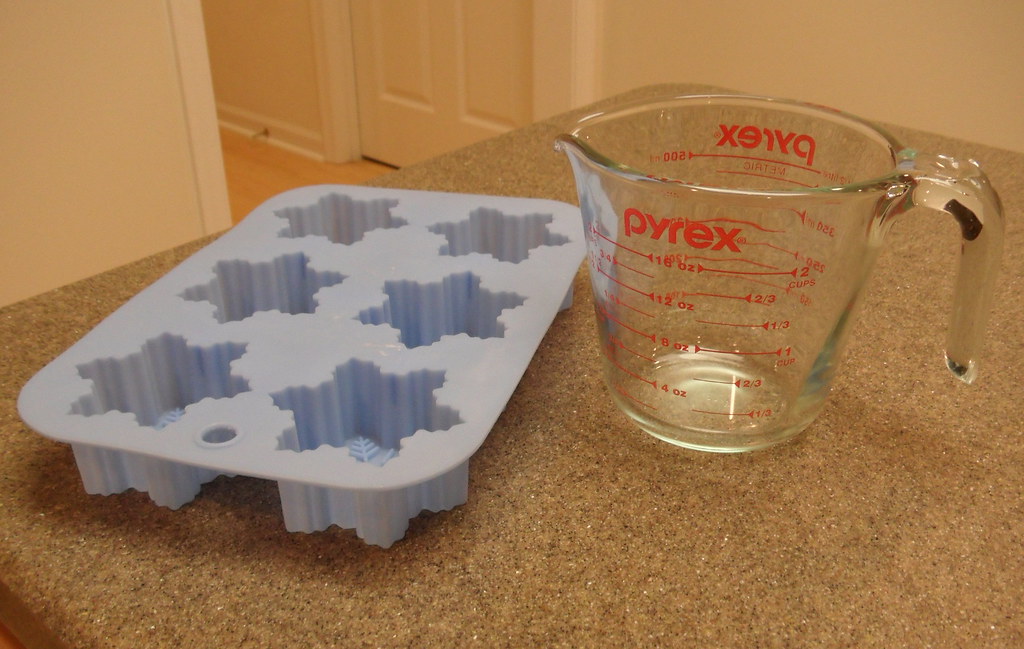
grab a measuring cup...then some type of silicone mold...

soy tarts

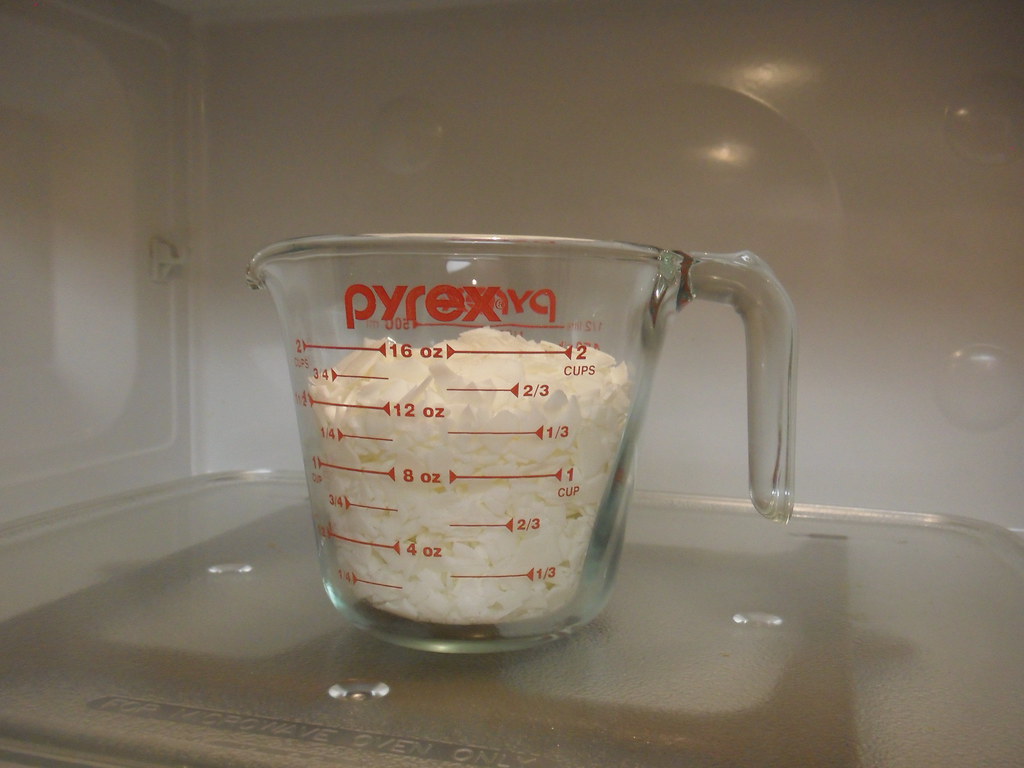
fill 'er up with the wax flakes...

soy tarts

then pop in the microwave according to the instructions...

soy tarts

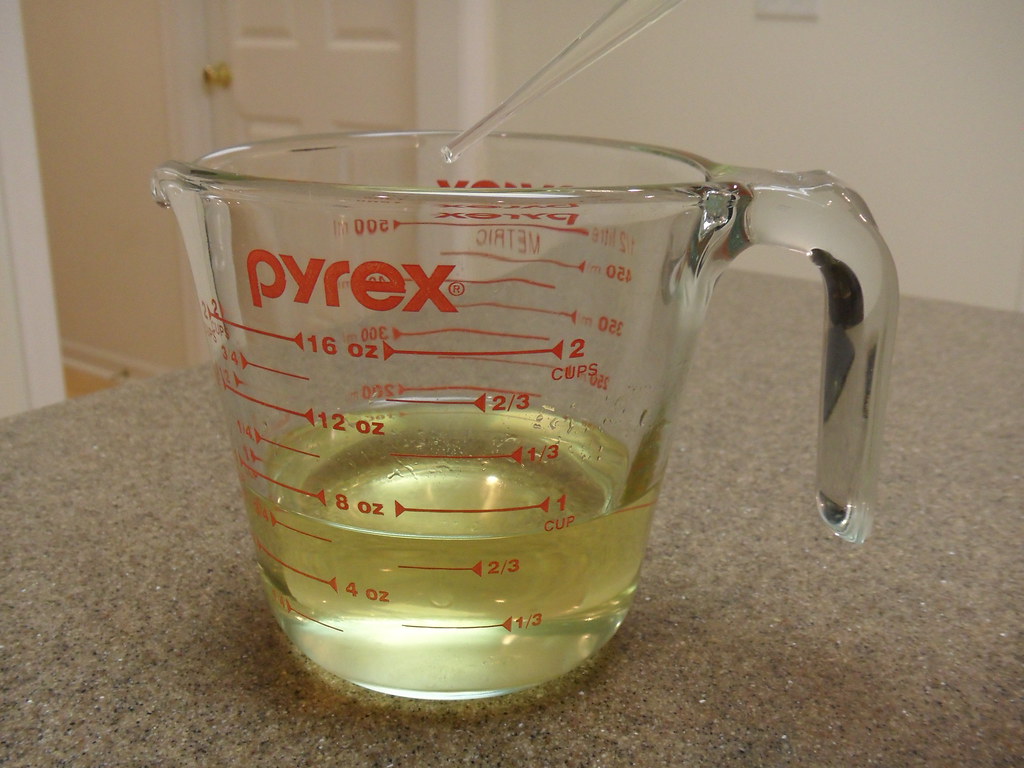
when all melted...add the fragrance oil...

soy tarts

start pouring in the molds!...i filled each cavity half way up...

soy tarts

keep going until you run out of wax!...then sit aside and let cool...

soy tarts

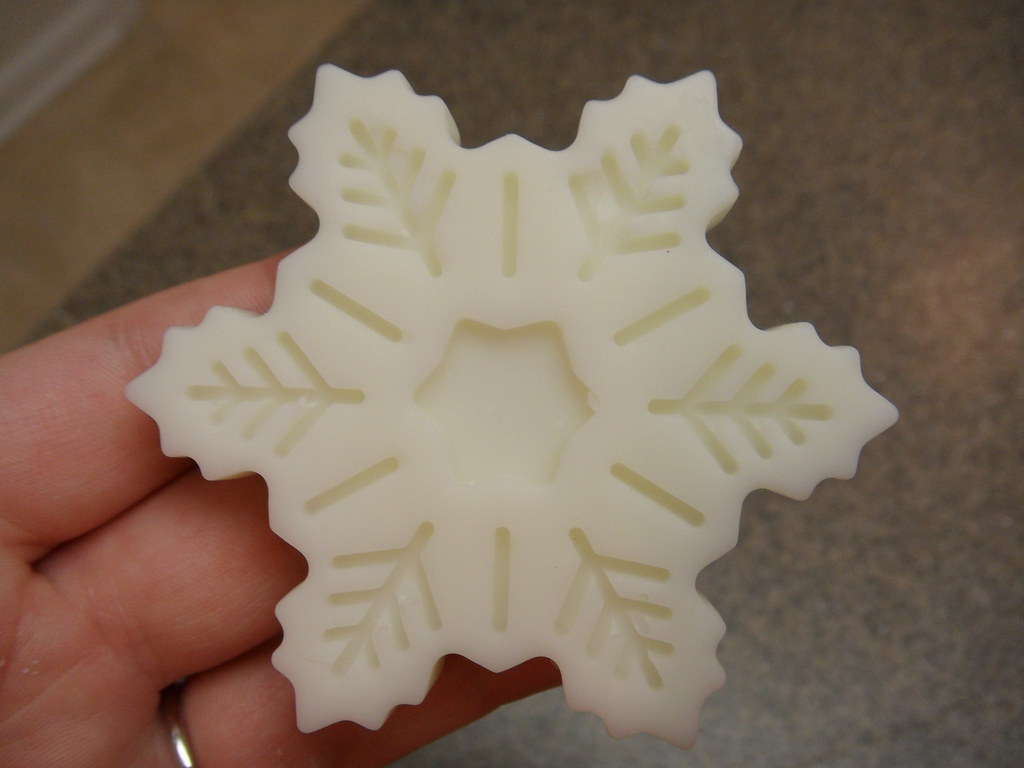
look at the finished product!...that mold had tons of detail!...a tiny work of tart!...lol...

SOY TART

packaging couldn't be easier...grabbed a tin and just stacked 'em in there!...didn't even have to decorate since this one's festive enough already!...

soy tarts

i kept mine on the simple side...with no color...you can buy the chunks of color wax and make 'em however you want....but for me...the snowflake mold and jack frost scent made the perfect holiday combo!...at least the house smells christmas-y...because it's certainly not looking it!...lol...

****check out my linky party directory to see where i'm linking to this week!...

Saturday, November 5, 2011

SCRUB A DUB DUB

so...seems that my hand scrub post from last year has been pretty popular...and i thought it was time to take it to the next level...that's right...how 'bout a body scrub?...that will bubble up when you rub rub rub in the tub tub tub!...or shower...lol...

bubbling sugar scrub

grab some sugar...and then your shower gel...mmmm...banana nut bread....

step 1

fill up your container with some sugar and start squirting in the shower gel...

step 2

that's about enough...

step 3

mix 'er up!...now if at anytime...you feel it's too thick...then add some more shower gel...if it's too runny...add more sugar...

step 4

all done!...

step 5

since this batch is for gifting...i'm putting it in a purtier container...this is one i had on hand...but you can pick these up at almost any craft store...just take a looksie in the soap section...oh...and i'd suggest using plastic...because glass and the shower don't really mix...

step 6

just spoon it in until it's all filled!...and if you're lucky...you made some extra to keep for yourself...

step 8

here's a test run on the arm...see all that scrubby goodness?...yeah...imagine that every where!...that's the reason for using the shower gel!...

see all that scrubby goodness?...

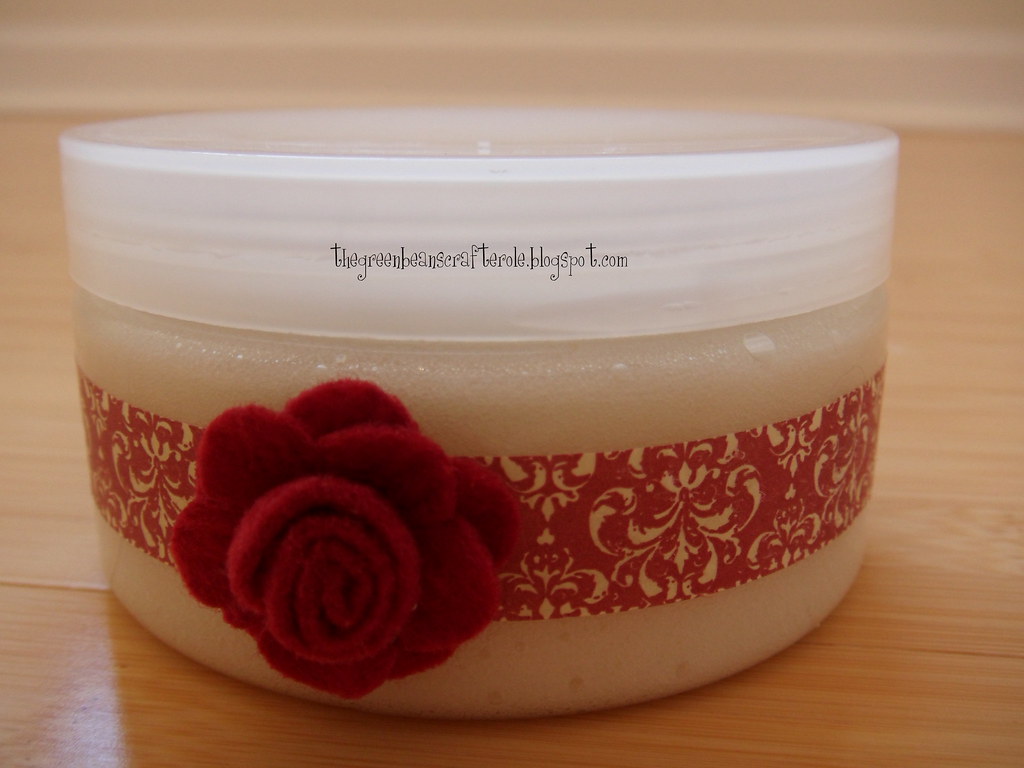
i did some really simple decorating by doing just a stripe of patterned paper tape around the container...then found a great little flower to add the finishing touch!...

sugar scrub

now remember...this stuff isn't just for gift giving...this is fab to have on hand all the time!...

****check out my linky party directory to see where i'm linking to this week!...

Saturday, September 3, 2011

GAME.SET.MATCH

so...with it being us open time...thought maybe i'd do up a little tennis craftie!....i'll be honest...all i know about this sport...is what i learned from kramer on seinfeld when he was ball boy...remember that?...now that's some funny stuff!....anywho...

decided to do up a a picture "frame" with a tennis ball...just by putting a cut in the top of the ball...you'll be able to slide a pic in there!...and before you ask...yes...that probably is the most current pic of the bean...lol....

tennis ball picture "frame"

thought i'd serve up the how to on this project...believe me...it'll take longer to read than do it!...just grab yourself some tennis balls and a serated knife...

step 1

stab the top of the ball...don't worry...it'll only hurt for a second...then cut a little bit in each direction from the initial wound slit....

step 2

the surgery when all done...now just grab a pic and slide in there!...

step 3

i think i aced it!...now...those annoying serve noises are optional when doing this project...i decided against it...only because the neighbors were out...but i did wear a head and wristbands...kidding!...or am i?...

****check out my linky party directory to see where i'm linking to this week!...

Friday, August 5, 2011

SUPER TWEET COASTERS

so...when in lowes...i came across the most fantastic 4" x 4" glass tiles and knew instantly i wanted to do coasters!...plus...it's been a while since i did a little etching...cause we all know i love me some etching!...lol...all packaged up, these make such a cute giftie for housewarmings or whatever!...

 
got out my cricut and songbird cartridge for this project...i love the birdie font and thought that it was the perfect compliment to the robin's egg blue tile color!...using some vinyl...i cut the bird at 3 1/2" inches...then centered the image on the tile...i did't want the sides etched...so i took painter's tape and ran that all around the edges...then piled on a hefty layer of etching cream...let it set for the 5 minutes and rinsed off...

 
using cork contact paper...i cut a square that was a 1/4" inch smaller to put on the bottom...the contact paper had plenty of adhesive....so no extra was needed...that cork's not going anywhere!

 
a little birdie told you me you might want a tutorial...so here ya go!...

grab some glass etching cream...mine came from michaels...a foam brush for application...painters tape...your image cut out of vinyl...and some cork shelf liner....

 
clean off your tile...you gotta make sure all oils and dirt are off!...

 
then slap your vinyl image on the tile...trying to center it...rub all around the edges of the vinyl...you don't want any bubbles or gaps...now...i do have a bubble...but since it's towards the middle of the image...it'll be fine...

 
grab your painters tape and cover the edges...making sure that it's really adhered...you don't want any of the etching cream to seep under...

 
see...egdes are all taped up!...

 
time to apply the etching cream!...

 
keep applying until the whole thing is covered...now...i'm very generous with the cream...if you don't apply enough...it'll be blotchy...better safe than sorry...because you can't re-etch!...

 
after waiting the 5 minutes...or 15 if you forget you're working on a project...like i do most of the time!...lol...take tiles over to your sink...and start to rinse off!...

 
once all the cream is off...peel off your vinyl and painter's tape...when wet...it does not look like much etching is going on...don't panic!....that's normal!...

 
dry off your tiles...

 
now take a lookie!...see...the etched goodness has appeared!...the cream worked it's magic!...

 
taking your cork square...remember...i cut mine 1/4" inch short in both height and width....peel off the backing...

 
and slap on the back of the tile!...press down to make sure it's adhered....and we're done!...

 
i bundled all my coasters up with some ribbon and topped off with another cut from the songbird cartridge...inked up the edges...added a cute sentiment and pop dotted...it's all ready for gift giving!

 
now that this idea is "etched" in your mind...you can do up these for any occasion!...and don't think you only need vinyl...you can use stickers for the shapes...or even just some randomly placed strips of painters tape to make some snazzy stripes!....

****check out my linky party directory to see where i'm linking to this week!...
Related Posts with Thumbnails