Showing posts with label halloween. Show all posts

Sunday, October 23, 2011

BRAIN FOOD

well...more like brain candy...lol...ended up making this spook-tacular treat that would be perfect for any zombie...just took some candy melts...microwaved per directions...tinted with a little red food coloring...and poured into brain shaped molds...

candy brain

see...how great these turned out?...

candy brain

yeah...there's a couple bubbles in there...maybe i could've tapped the mold a little bit to get the air out...note to self for next time....

candy brain

decided to package 'em up to look like specimens in the laboratory...perhaps from young frankenstein's?....lol...

candy brain

of course...chocolate can be used too!...but since i had the vanilla on hand...it was a no brainer to use that...insert evil laugh here....

****check out my linky party directory to see where i'm linking to this week!...

Monday, October 17, 2011

MISFORTUNE COOKIES

well...i was trying to decide if i was going to do halloweenie cards or not...then realized...i stink at making cards...lol...so...ended up doing a twist on my paper fortune cookies!...oh...you don't remember those?...you know why?...'cause i never showed them on the crafterole...but that's all about to change!...

so here you go!...my eek-citing misfortune cookies!...

misfortune cookies

package 'em up all up in a take out box...or just do singles...witch which ever way you like!...but make sure to top off with a boo-tiful mangled bow...

misfortune cookies

by taking some patterned paper and using THIS tutorial....you can whip these up in no time!...grab some spooky sentiment stamps for the fortunes...or just print out your own!...

misfortune cookies

i think they turned out pretty terror-ific!...what do you think?...can't wait to give these to zom-body special!...wow...could i use anymore bad puns?...

****check out my linky party directory to see where i'm linking to this week!...

Saturday, October 8, 2011

BOO-LETIN BOARD

well...keeping in the halloweenie spirit...this project will keep you organized and spooky all at the same time!....introducing the boo-letin board!...

boo-letin board


attach some googly eyes to plain 'ol thumbtacks with glue dots...

googly eye push pins

grab a 6 inch by 6 inch cork square...punch some holes and use a little festive ribbon to finish it up!...

boo-lletin board


eye i think it would be perfect for any little ghouls or girls door during the holidays!...

****check out my linky party directory to see where i'm linking to this week!...

Friday, September 30, 2011

SKULL AND CHALKBONES

so...huge fan of skulls here!...and i'm loving that it's the season for 'em!...well...here's one that i have displayed in the house right now...at first...looks like your average holiday decoration...

009

then bam!...is that really a chalkboard?...sure is!...

007

picked up a plastic skull from target in the halloween secion for five bucks...and slapped two coats of chalkboard paint on there!...as hard as it was to cover up the glow in the dark awesome-ness that the skull offered...the end result shows me i made the write right decision!...

****check out my linky party directory to see where i'm linking to this week!...

Saturday, September 10, 2011

POSTS OF HALLOWEENS PAST

so...seems that it's about time to start posting halloweenie projects...only problem...i haven't done any to share...i know...can we say slacker?...but they are in the works...i promise!...

anywho...thought i'd show some of last years posts...hopefully that will hold you over until i get my haunting hiney in gear!...just click on the pics and you'll be magically taken to the original posts!....

 
{severed finger magnet}


{hot glue window cling ghosts}


{chalkboard paint pumpkin}


{stamped tealights}


{"hand" soap}


{spiderweb memo board}


{eyeball pins}

Tuesday, October 26, 2010

GOT MY EYE ON YOU!

so...eye i wanted a little pin or something to wear around for the holidays...and realizing that i'm on some creepy body part kick...for real...let's think back...we had a severed finger magnet and some "hand" soap...it was only fitting that i'd make an eyeball!...

just grabbed some 1 1/2" inch wooden disks...painted 'em up white...then cut a 1" inch circle for the iris and a 1/2" circle for the pupil...attached those with a little mod podge...waited for 'em to dry...and added the "sparkle" with some puff paint...

 
then slapped on some pins to the back!...eye i love how they turned out!...

 
****check out my linky party directory on the sidebar to see where i'm linking to this week!...

Sunday, October 24, 2010

HOW 'BOUT SOME CARDS FOR A CHANGE

so...guess who's been making cards?...the bean...that's who!...i'm blaming it on the full moon!...anywho...thought i'd do a little scaring
sharing!...i know my cards are more on the simple side...but i thought they turned out spook-tacular!...

for this one...just took some random fabric and sewed on the kraft cardstock...then used stazon ink and the clover stamp from stampotique to finish it off...colored in her eyes with a white signo pen...to give that creepy stare!...worked huh?...

 
this one's just a little guy...3" by 3"...did a little pumpkin stamp on some washi tape...pretty sure it's stampin' up...then with my dymo label maker...did the happy halloween...topped it off with some black and white baker's twine...

 
for this one...i needed the help of my gypsy and cricut...that's right...a shape card!...lol...the image is from the simply charmed cart...added some stiching with my white signo pen...you might not be able to see...but there's some glossy accents on his buckers and feet....oh...don't forget the stickles on the cheek!....then put some googly eyes on it and called it a day!...

 
for the sentiment...used the dymo label maker...could be my new favorite toy!...

 
this one's probably my fav!...i heart this little mummy!...another 3" by 3" card...cut a tiny piece of black cardstock and attached to the card...then plopped some googly eyes on it...using this cotton tape...i cut strips and covered like a mummy...trimmed up any that hung over the edges...grabbed some stazon ink...stamped with a papertrey ink sentiment...and topped off with a little bow!...


Saturday, October 16, 2010

WHAT A TANGLED WEB MEMO BOARD WE WEAVE

so...with it being the halloweeny season...i was wanting a spooktacular way of displaying some cards and other goodies...and then this idea of a spider web memo board popped into my head!...

rumaging around my crafting cave...i found a 12" by 24" inch canvas that was from my "drip painting" days...greenbean pollack just didn't have a good ring to it!...lol....anywho...covered the canvas with some black fleece using my staple gun....then grabbed some 1/4" white grosgrain ribbon and worked out a spider webbie pattern...

 
at the intersections...i put a tiny white brad in...to keep everything in place...and the wrapped the remaining ribbon around to the back and stapled...

 
now i can just slide whatever goodies underneath the ribbon!...what a terror-ific way to display during the spooky season!...

****check out my linky party directory on the sidebar to see where i'm linking to this week!...

Saturday, October 9, 2010

GIVES NEW MEANING TO "HAND" SOAP

so...i've had this idea of a hand shaped soap in my head for a while...yeah...i don't know what goes on up there sometimes!....well...i haven't tried it because i thought it might be a little too jeffery dahmerish for just anytime...but perfect for halloween!...is it still creepy?...uh...yeah....but 'tis the season!...oh...and did i mention that this one glows in the dark?...yeah...that's right...you don't have to have the lights on for this to freak ya out!...insert evil laugh here!...

i thought i'd give you a hand in making 'em and show ya how it's done!...

 
you're going to need....one unpowdered vinyl or latex glove....fragrance oil of your choice... heaping measuring cup of cubed clear melt and pour soap...glow in the dark powder....rubbing alcohol in a spray bottle...

 
you'll also need....clothespins...and a pair of some type of containers to rig up a contraption for your mold...i used these two glass vases that are 9 1/2" inches each...but along the way...i realized they weren't tall enough once i poured the soap...because it should be about 10 1/2" inches....

 
attach the glove to the cylinders with the clothespins....i did two on each side...

 
here's an aerial shot...

 
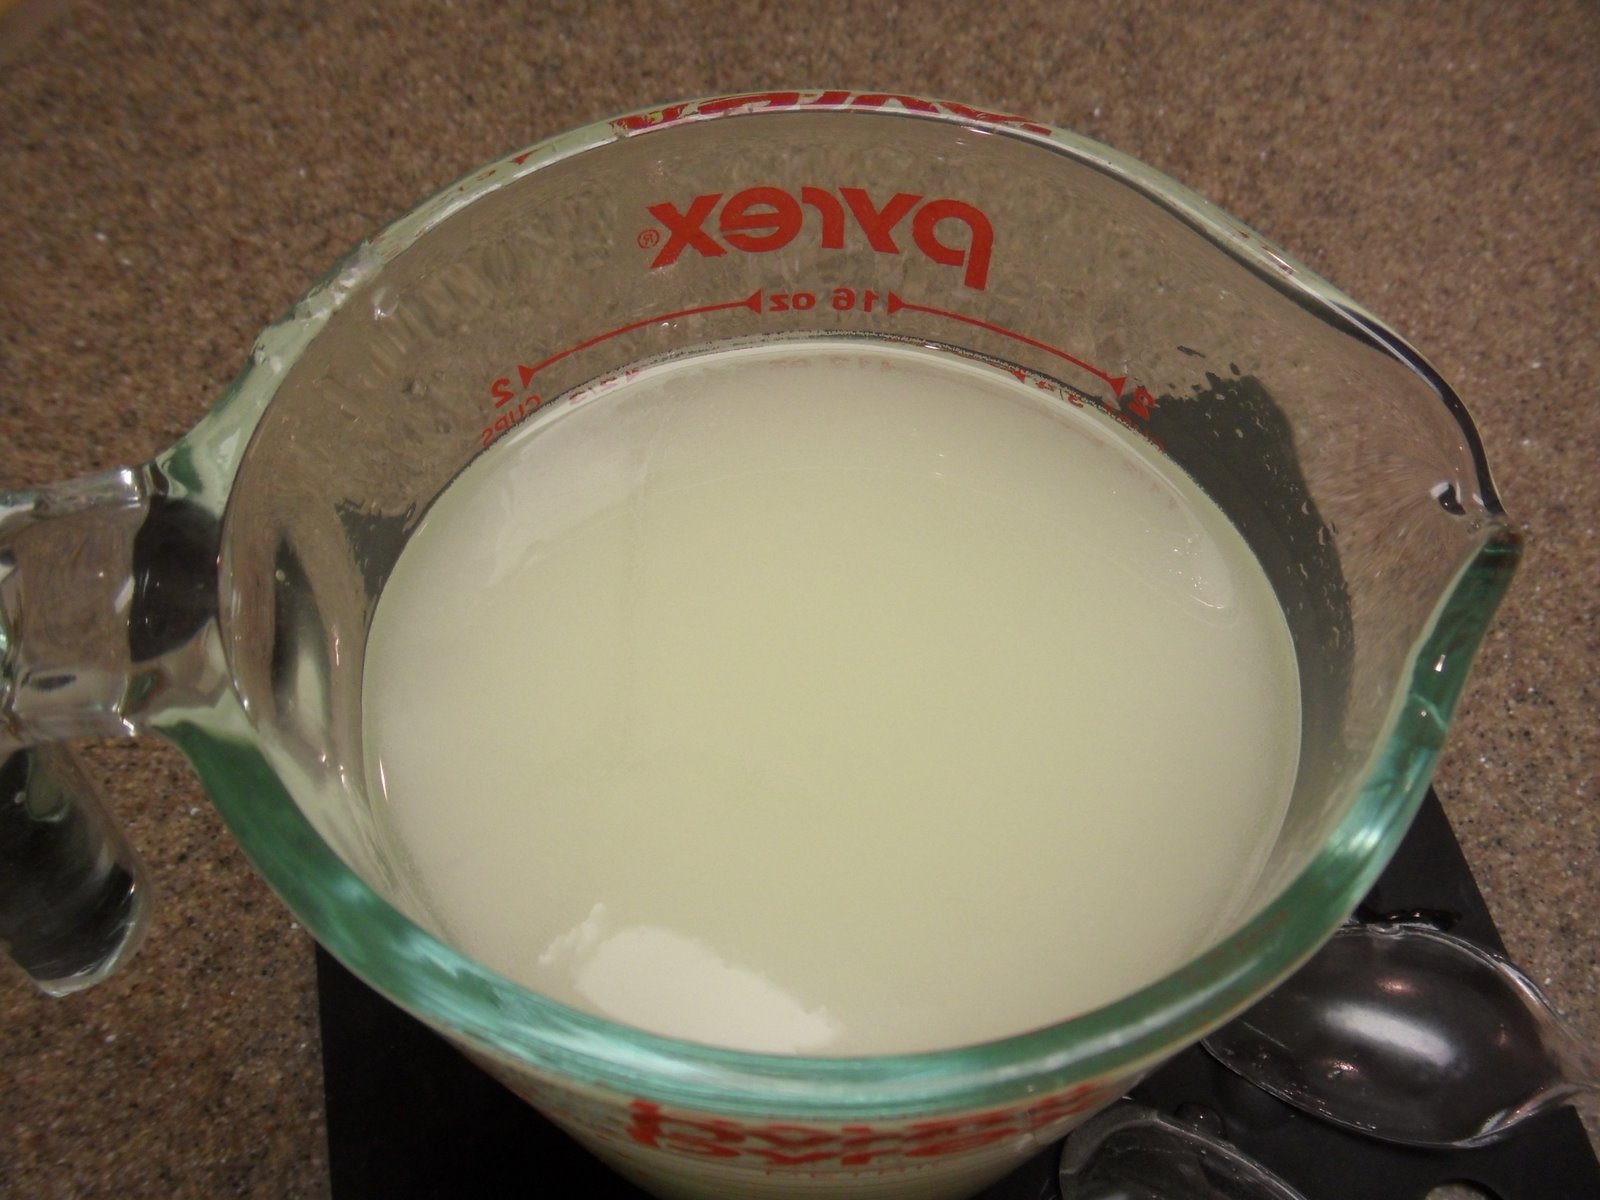
go to the microwave and melt the soap...i did three minutes at 50% power...if it's not all melted...do another minute at 50%....you're going to need to end up with about two cups of melted soap...so if you don't have enough...add a couple more chunks in....

 
add about a teaspoon of the glow in the dark powder...a little goes a long way!...

 
mix really really really well!....you want it all through out your soap!....it likes to hide out on the bottom...so make sure you're scraping the bottom with your spoon!...

 
then add your fragrance oil...mix 'er up!...

 
see all those nasty bubbles around the edges?...we gotta get rid of 'em!...and that's what the rubbing alcohol's for!...spray liberally until they disappear!...

 
all gone!...

 
slowly pour your soap into the glove...don't go too quick...or your containers might fall over...just keep going until there's no soap left...

 
once again...get rid of the bubbles with the rubbing alcohol...

 
now leave it alone!...it's going to take about an hour to harden...

***this pic shows ya how i solved the problem of adding height to my containers...just grabbed these little guys from the cabinet and slapped 'em under...they added another 2" inches!...

 
when all ready...take your glove down...

 
cut the glove away...it'll come right off...i just like to cut it...don't want to break any fingers off!...

 
all done!....

 
no glow in the dark powder?...don't worry!...just add some soap color instead!....like this orange one i did up!....

 
****check out my linky party directory on the sidebar to see where i'm linking to this week!...

Sunday, October 3, 2010

AREN'T THESE JUST TEA-LIGHTFUL?

well...thought it was about time to do up a halloweeny version of the tissue paper tealights...so...took a looksie through my stamps...and found this perfect jack o lantern face!...now...using this boo-torial i ended up with some little tealights that are just too cute to spook!...

 
here's an extreme close up!...and fyi...it's way larger than actual size!...lol...

 
now...these are really for decoration purposes only!...i wouldn't burn with the tissue paper still on!....if you do want to light...i'd give 'em a shot with your heat gun and just remove the image...

****check out my linky party directory on the sidebar to see where i'm linking to this week!...

Saturday, September 25, 2010

PAINTED PUMPKINS...CHALKBOARD STYLE

just when i thought i was getting better with it...yet another item has fallen victim to my chalkboard paint addiction...i really was in the process of putting it away...when the idea of painting one of those craft pumpkins popped into my head...i mean...what was i to do?...just ignore it?...

so...headed over to micheals and picked up (and paid for) one of those black plastic pumpkins...slapped two coats of chalkboard paint on it...and now it's ready to go!...

i promise...the paint has been put away now...it's out of sight...but not out of mind!...

 
****check out my linky party directory on the sidebar to see where i'm linking to this week!...

Sunday, September 12, 2010

THESE GHOSTS ARE A LITTLE CLINGY...

so...walking past my window the other day...i noticed it was a bit nakie...well...that got me thinking about something i've been wanting to try...hot glue window clings!...

with halloween coming up...figured it would be pretty cool to try ghosts...and was a right!...i loved how they came out!...best part...they actually stuck!...i'm lovin' how imperfect they are...got that ectoplasm look to 'em!...

and of course...i did up a little boo-torial for ya!...

 
you'll need a clear glass plate, a glue gun, some glue sticks, and what ever spooky shape your wanting to create...i cut these ghosts on my cricut using the happy haunting cart...

 
place the image under the glass plate...

 
start tracing the outline with the glue gun...do a pretty thick line...

 
here's it all outlined!...

 
now fill 'er in!...be pretty generous with the glue...mine's a little glue gun...and i used 3 sticks to fill it up!...

 
time to let it cool!...

 
you'll want to pry the ghost from the plate...it comes off really easily!...now just to draw on the eyes and mouth with a sharpie!...i put my cut out under again just to get the placement right...

 
and you're all done!...just take the finished ghost and slap it on a window!...aren't they just terror-ific?...

****check out my linky party directory on the sidebar to see where i'm linking to this week!...
Related Posts with Thumbnails