so...i've had this idea of a hand shaped soap in my head for a while...yeah...i don't know what goes on up there sometimes!....well...i haven't tried it because i thought it might be a little too jeffery dahmerish for just anytime...but perfect for halloween!...is it still creepy?...uh...yeah....but 'tis the season!...oh...and did i mention that this one glows in the dark?...yeah...that's right...you don't have to have the lights on for this to freak ya out!...insert evil laugh here!...
i thought i'd give you a hand in making 'em and show ya how it's done!...
you're going to need....one unpowdered vinyl or latex glove....fragrance oil of your choice... heaping measuring cup of cubed clear melt and pour soap...glow in the dark powder....rubbing alcohol in a spray bottle...
you'll also need....clothespins...and a pair of some type of containers to rig up a contraption for your mold...i used these two glass vases that are 9 1/2" inches each...but along the way...i realized they weren't tall enough once i poured the soap...because it should be about 10 1/2" inches....
attach the glove to the cylinders with the clothespins....i did two on each side...
here's an aerial shot...
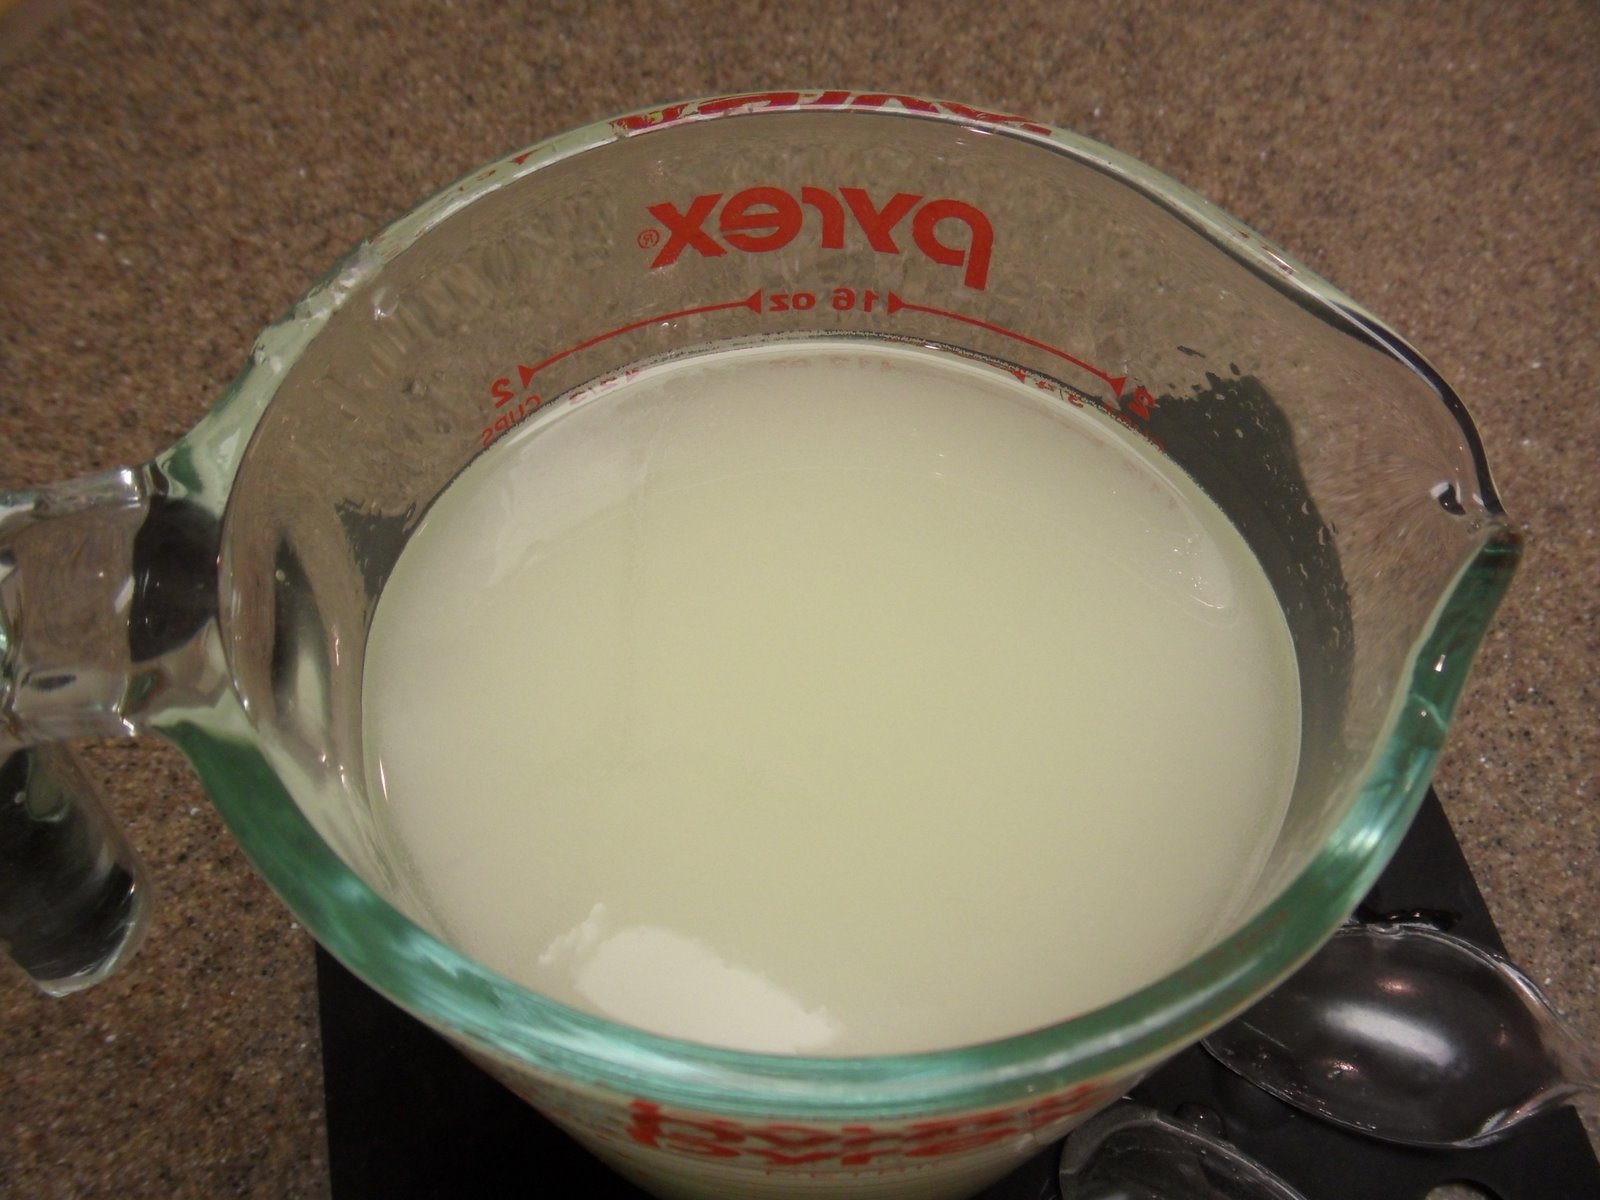
go to the microwave and melt the soap...i did three minutes at 50% power...if it's not all melted...do another minute at 50%....you're going to need to end up with about two cups of melted soap...so if you don't have enough...add a couple more chunks in....
add about a teaspoon of the glow in the dark powder...a little goes a long way!...
mix really really really well!....you want it all through out your soap!....it likes to hide out on the bottom...so make sure you're scraping the bottom with your spoon!...
then add your fragrance oil...mix 'er up!...
see all those nasty bubbles around the edges?...we gotta get rid of 'em!...and that's what the rubbing alcohol's for!...spray liberally until they disappear!...
all gone!...
slowly pour your soap into the glove...don't go too quick...or your containers might fall over...just keep going until there's no soap left...
once again...get rid of the bubbles with the rubbing alcohol...
now leave it alone!...it's going to take about an hour to harden...
***this pic shows ya how i solved the problem of adding height to my containers...just grabbed these little guys from the cabinet and slapped 'em under...they added another 2" inches!...
when all ready...take your glove down...
cut the glove away...it'll come right off...i just like to cut it...don't want to break any fingers off!...
all done!....
no glow in the dark powder?...don't worry!...just add some soap color instead!....like this orange one i did up!....
****check out my linky party directory on the sidebar to see where i'm linking to this week!...
Showing posts with label tutorial. Show all posts
Saturday, October 9, 2010
Sunday, September 12, 2010
THESE GHOSTS ARE A LITTLE CLINGY...
so...walking past my window the other day...i noticed it was a bit nakie...well...that got me thinking about something i've been wanting to try...hot glue window clings!...
with halloween coming up...figured it would be pretty cool to try ghosts...and was a right!...i loved how they came out!...best part...they actually stuck!...i'm lovin' how imperfect they are...got that ectoplasm look to 'em!...
and of course...i did up a little boo-torial for ya!...
you'll need a clear glass plate, a glue gun, some glue sticks, and what ever spooky shape your wanting to create...i cut these ghosts on my cricut using the happy haunting cart...
place the image under the glass plate...
start tracing the outline with the glue gun...do a pretty thick line...
here's it all outlined!...
now fill 'er in!...be pretty generous with the glue...mine's a little glue gun...and i used 3 sticks to fill it up!...
time to let it cool!...
you'll want to pry the ghost from the plate...it comes off really easily!...now just to draw on the eyes and mouth with a sharpie!...i put my cut out under again just to get the placement right...
and you're all done!...just take the finished ghost and slap it on a window!...aren't they just terror-ific?...
****check out my linky party directory on the sidebar to see where i'm linking to this week!...
with halloween coming up...figured it would be pretty cool to try ghosts...and was a right!...i loved how they came out!...best part...they actually stuck!...i'm lovin' how imperfect they are...got that ectoplasm look to 'em!...
and of course...i did up a little boo-torial for ya!...
you'll need a clear glass plate, a glue gun, some glue sticks, and what ever spooky shape your wanting to create...i cut these ghosts on my cricut using the happy haunting cart...
place the image under the glass plate...
start tracing the outline with the glue gun...do a pretty thick line...
here's it all outlined!...
now fill 'er in!...be pretty generous with the glue...mine's a little glue gun...and i used 3 sticks to fill it up!...
time to let it cool!...
you'll want to pry the ghost from the plate...it comes off really easily!...now just to draw on the eyes and mouth with a sharpie!...i put my cut out under again just to get the placement right...
and you're all done!...just take the finished ghost and slap it on a window!...aren't they just terror-ific?...
****check out my linky party directory on the sidebar to see where i'm linking to this week!...
Labels:
cricut,
glue gun,
halloween,
happy hauntings cart,
tutorial
Sunday, August 29, 2010
I LOVE ROCK AND BOWL
so...i had some old records hanging around my craft area...and needed something to do with 'em...still not exactly sure how i ended up with a whole set of reader's digest swing ones...lol...anywho...i saw a vid on youtube on how to make a bowl out of an old record...but when i tried it...didn't like the finished results!...with a little trial and error...and a whole lotta air guitar....i ended up finding a way to make some rad bowls...even if they are made out of swing records!...lol...
of course...i wanted to share...so here's a tutorial that i did up!...you're going to need one album...i hit up my goodwill and found some much cooler titles...and best part...only a buck a piece!...
two glass bowls that nest...got these babies at walmart...
the smaller one is 6" inches at the top...and 3" inches at the bottom...the larger one is 8" inches at the top...and 4" inches at the bottom...
place the smaller bowl on a cookie sheet...rest the record on top of it...try to center as much as possible...
preheat the oven to 200 degrees...don't go any higher than that!...over 200 will start to release the toxins!...we don't want that to happen!...or at least i didn't...on another note...you do not have to do this at 1:48...anytime is good...lol...
when it's up to temp...plop it in the oven...i always double check to make sure the record's still centered on the bowl...
after a couple of minutes...it'll start to droop....some of the thicker records take a little longer...but the thin ones...they melt right up!...
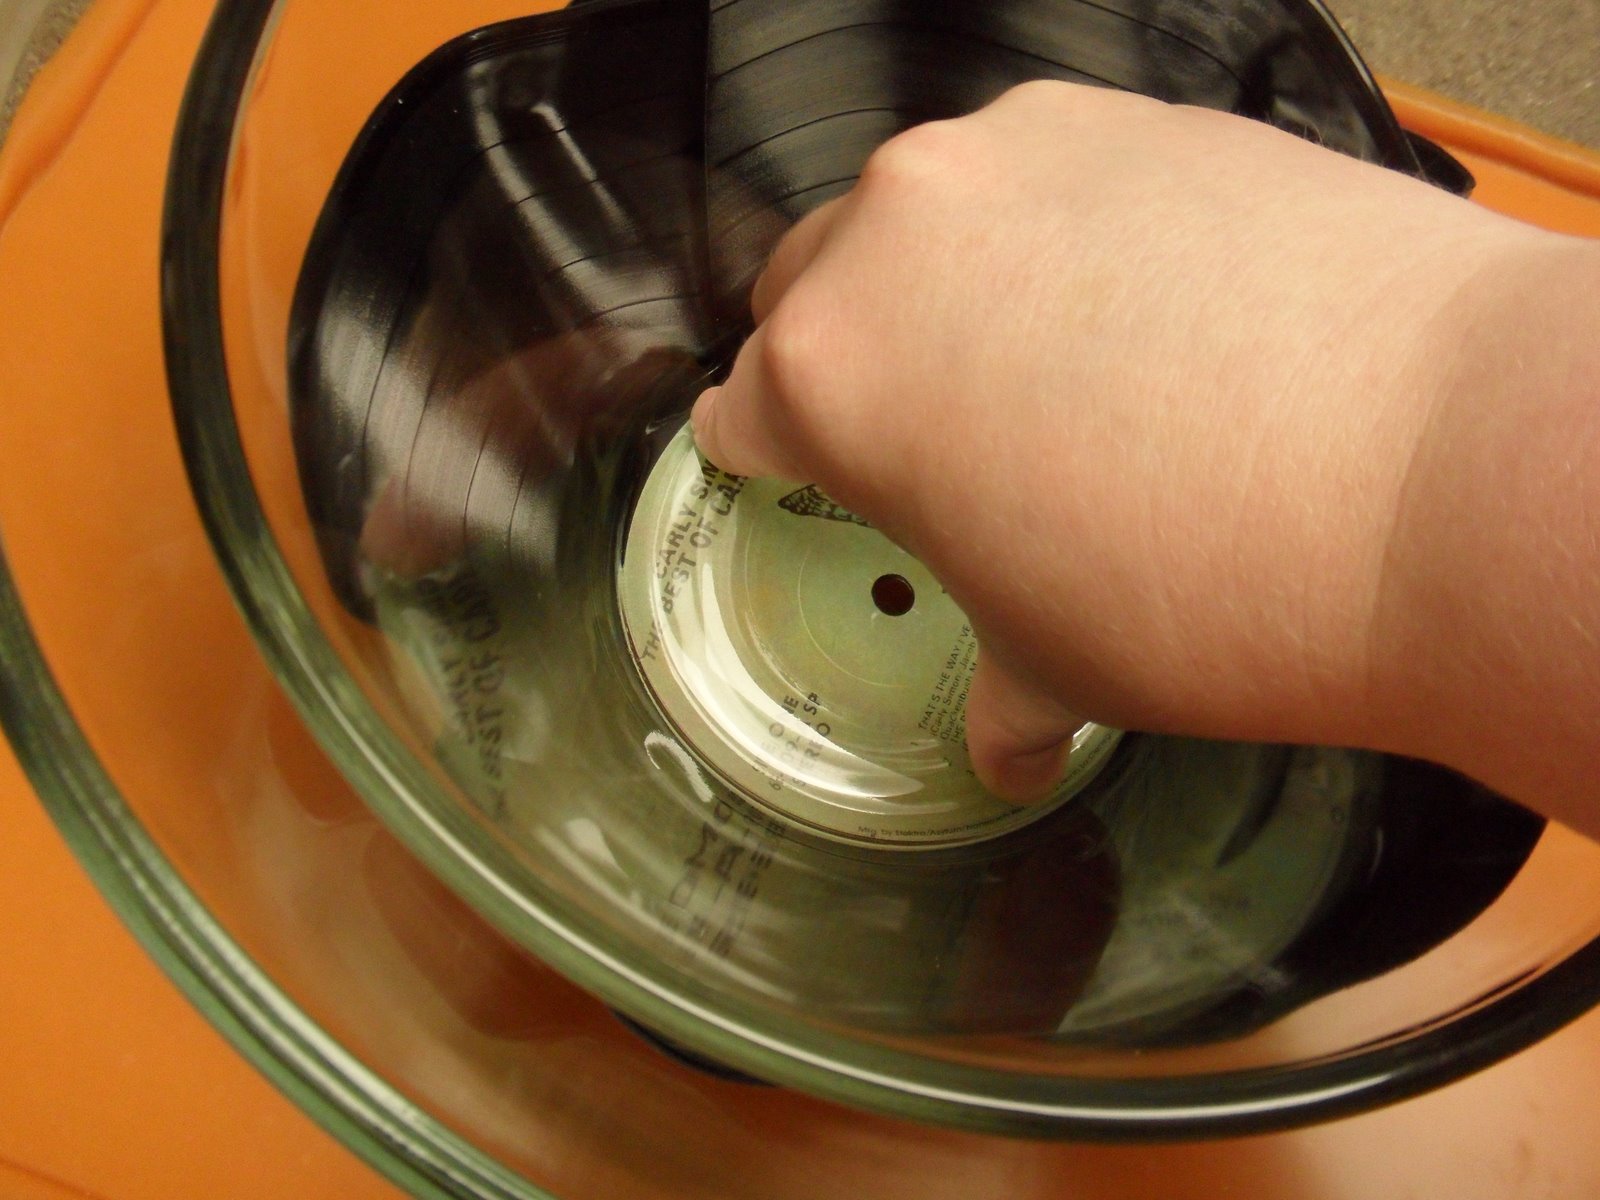
at this point...take it out of the oven...be careful!...it's hot!...although you probably already knew that...anywho...plop the larger glass bowl over the smaller one...sandwiching the record in between...this creates all those great ruffles...you gotta move fast...the record cools off pretty quick...
then flip the bowls over...this way...you can press down the smaller bowl a little better...to get tighter ruffles...now just let it cool...
*if you didn't move quick enough on the the last couple of steps...you can always pop it back in the oven...and let it remelt...then take it out and try to again!...
now you got one rocking bowl to fill up with goodies!...
but don't throw away the packaging!...how cool would it be when you're gifting this bad boy...to have made the tag with the lyrics?...i used my cricut to cut out this one!...
****check out my linky party directory on the sidebar to see where i'm linking to this week!...
of course...i wanted to share...so here's a tutorial that i did up!...you're going to need one album...i hit up my goodwill and found some much cooler titles...and best part...only a buck a piece!...
two glass bowls that nest...got these babies at walmart...
the smaller one is 6" inches at the top...and 3" inches at the bottom...the larger one is 8" inches at the top...and 4" inches at the bottom...
place the smaller bowl on a cookie sheet...rest the record on top of it...try to center as much as possible...
preheat the oven to 200 degrees...don't go any higher than that!...over 200 will start to release the toxins!...we don't want that to happen!...or at least i didn't...on another note...you do not have to do this at 1:48...anytime is good...lol...
when it's up to temp...plop it in the oven...i always double check to make sure the record's still centered on the bowl...
after a couple of minutes...it'll start to droop....some of the thicker records take a little longer...but the thin ones...they melt right up!...
at this point...take it out of the oven...be careful!...it's hot!...although you probably already knew that...anywho...plop the larger glass bowl over the smaller one...sandwiching the record in between...this creates all those great ruffles...you gotta move fast...the record cools off pretty quick...
then flip the bowls over...this way...you can press down the smaller bowl a little better...to get tighter ruffles...now just let it cool...
*if you didn't move quick enough on the the last couple of steps...you can always pop it back in the oven...and let it remelt...then take it out and try to again!...
now you got one rocking bowl to fill up with goodies!...
but don't throw away the packaging!...how cool would it be when you're gifting this bad boy...to have made the tag with the lyrics?...i used my cricut to cut out this one!...
****check out my linky party directory on the sidebar to see where i'm linking to this week!...
Labels:
cricut,
designers calendar cart,
records,
tutorial
Saturday, July 24, 2010
EARRINGS IN FULL BLOOM!
so...this months challenge over at sugar sweet paper treats is flowers and bling...hmmm....two things i'm not really known for!...lol...well...got out my freshly picked cricut cart and got to work on my card!...i so loved this gate image...and how perfect...it had some flowers on it!...but...there's a greenbean twist to it...those flowers are earrings!...that's right!...and i'm going to show you how to make 'em!...
now this is the same technique that i used for the flowers on my tutus...but we're going to make them much smaller...and only two layers instead of the three....but everything else is the same!....
first of all...i want you to know that nothing's wrong with your computers color...i did switch it up from the red to yellow...yeah...i'm crazy like that!...lol...anywho...let's get started!...
you're going to need...satin ribbon...bling...i used pearls...fabri tac...super glue...earring posts...earring backs...and a source of fire...
taking your satin ribbon...randomly cut circles...one larger than than other...now...you do want to cut another set pretty similar in size and shape...you'll kinda want the pair to match!...
hmmm...seems that i forgot to say you'll need some tweezers...well...you don't have to...but it makes things so much easier!...
now...take your flame...and go around all the edges...with it being satin...it'll curl up...but be careful...don't leave it there too long...or it will catch on fire!...trust me!...lol...repeat this step with your smaller circle...and your other set of circles...
take the fabri tac and place a small dot in the middle of your largest circle....
then place your small circle on top...hold for a bit...until you know it's stuck....
then...take some super glue...and place the tiniest dot on the back of your bling...a little bit goes a long way...and place it in the middle of your flower....
flip it over...and using the super glue again...put a dot on the the earring back...and place that on your flower...
repeat the steps of glueing the flower together and putting the earring back on....now you have a pair!...
now how pretty are they?...
for packaging 'em up...i used this cute gate image from freshly picked...cut it and the flowers at 3"....
then pop dotted that bad boy up!...i did punch holes in the vine cut and had it go completely through the card...that way...they can remove the earrings...without tearing up the card...i just plan to put a little bit of foam on the inside...so that it gives the earrings a cushion!...
now this is the same technique that i used for the flowers on my tutus...but we're going to make them much smaller...and only two layers instead of the three....but everything else is the same!....
first of all...i want you to know that nothing's wrong with your computers color...i did switch it up from the red to yellow...yeah...i'm crazy like that!...lol...anywho...let's get started!...
you're going to need...satin ribbon...bling...i used pearls...fabri tac...super glue...earring posts...earring backs...and a source of fire...
taking your satin ribbon...randomly cut circles...one larger than than other...now...you do want to cut another set pretty similar in size and shape...you'll kinda want the pair to match!...
hmmm...seems that i forgot to say you'll need some tweezers...well...you don't have to...but it makes things so much easier!...
now...take your flame...and go around all the edges...with it being satin...it'll curl up...but be careful...don't leave it there too long...or it will catch on fire!...trust me!...lol...repeat this step with your smaller circle...and your other set of circles...
take the fabri tac and place a small dot in the middle of your largest circle....
then place your small circle on top...hold for a bit...until you know it's stuck....
then...take some super glue...and place the tiniest dot on the back of your bling...a little bit goes a long way...and place it in the middle of your flower....
flip it over...and using the super glue again...put a dot on the the earring back...and place that on your flower...
repeat the steps of glueing the flower together and putting the earring back on....now you have a pair!...
now how pretty are they?...
for packaging 'em up...i used this cute gate image from freshly picked...cut it and the flowers at 3"....
then pop dotted that bad boy up!...i did punch holes in the vine cut and had it go completely through the card...that way...they can remove the earrings...without tearing up the card...i just plan to put a little bit of foam on the inside...so that it gives the earrings a cushion!...
Labels:
cricut,
earrings,
freshly picked cart,
ribbon,
tutorial
Subscribe to:
Posts (Atom)