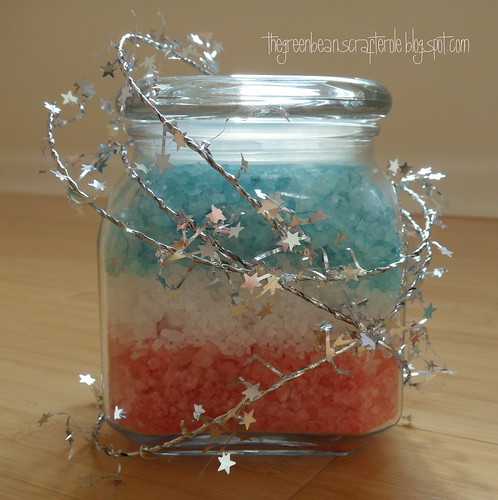
so...with trying to keep the crafties patriotic...decided to do up some star spangled bath salts!...you know...because tub time needs to be festive too!...the smell?...apple pie of course!...because you can't get more american than that!...
grabbing items that i have on hand...i was able to whip up this in no time!...but even if you have to gather the goods...still won't take too much time away from the firework festivities...
you'll need some bath salts...i used dead sea salts...but epsom salts would work just as well!...a container for giving...soap colorants...would not use food colors...because you don't want the actual tub turning patriotic...fragrance oil...and a little something to make it all sparkle!...
i filled my container with the uncolored salts...just to get a measurement of how much i'll need...then dump out and divide into thirds...i found the easiest way to color and scent is just by placing the salts in ziploc baggies...in one...drop some red color in there...followed by fragrance oil...then shake shake shake...making sure the salts are all dyed...if you need a brighter color...just add some more drops!...repeat this with the blue...then fragrance the white...
now it's time to fill the container!...the trick for this...just snip the corner of the ziplock bag (like you do with frosting) and start layering!...top of with some stars or something just as sparkley!...the stuff i used was from christmas!...lol...
there ya go!...and you know what?...i'm pretty sure that uncle sam himself would even soak in these!...
****check out my linky party directory to see where i'm linking to this week!...
▼
Saturday, June 25, 2011
Sunday, June 19, 2011
WHAT THE SCRAP?
are you gals anything like me?...you have as many scraps as you do full sheets of paper?...well...i managed to finally do something with 'em...i made i card!...pretty festive, huh?...
just took all my scraps and cut into 4 1/4" by 1" strips...then got to punching!...used a martha stewart border punch for these...then...just started to adhere the stripes to a plain 'ol card base...finished it off with a sentiment stamp and some blingage...
how's that for easy?...you can do up these sorta cards for anything...just change up the color combo and sentiment...and you'll go through all your scraps in no time!...
Saturday, June 11, 2011
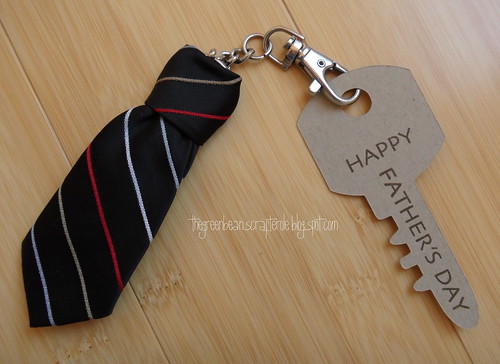
A TIE-NY TOKEN OF APPRECIATION
wowser...it just hit me that dad day is right around the corner...and hadn't done any projects for it!...so...here's a little last minute something something...
now...not sure why ties have become the gift standard...because seems that the only time my father wore one was for funerals...but for all those dads that dress to impress...there's no reason why your keys shouldn't be as sophisticated!...
so grab a old tie from years past and a key ring...that's all you'll need for this!...well...some scissors and glue too...
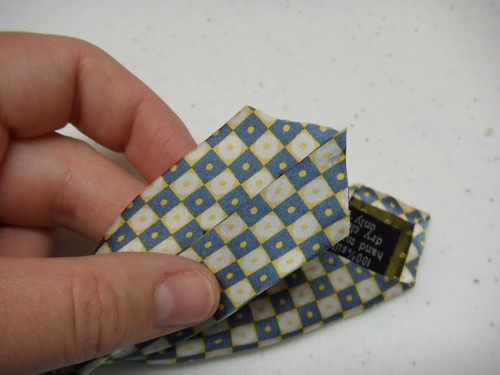
oh...you might notice that this isn't the same tie in the original pic...well...after finishing that one...i realized that i hadn't taken any pics along the way...so i had to grab a stand-in for the tutorial...just think of it as a stunt tie....
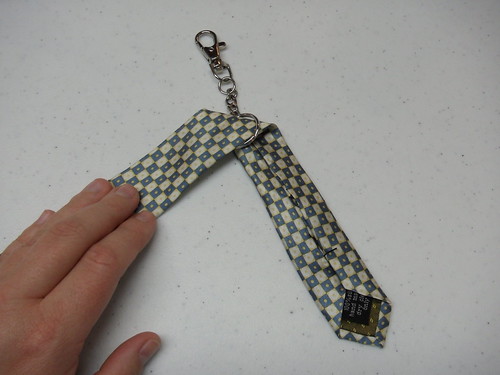
take the narrow tail end of the tie and pull it through the ring...about five inches...make sure the seam of the tie is facing down...
fold tail sideways...so it is pointing to right...now you'll be able to see the seams...
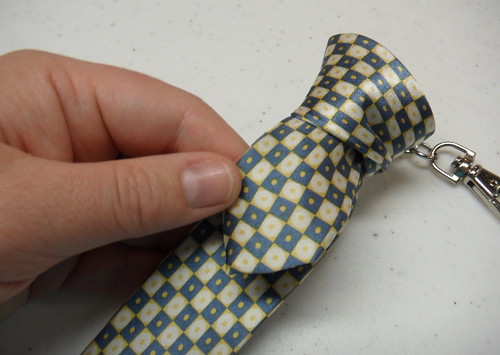
wrap the tail over the top of the tie...where it folds through the ring...
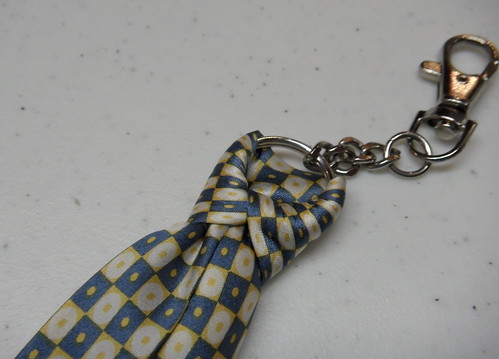
keep on wrapping the tail around the ring...until the seam shows...this should look like a knot on a tie...well...a teenie tie...
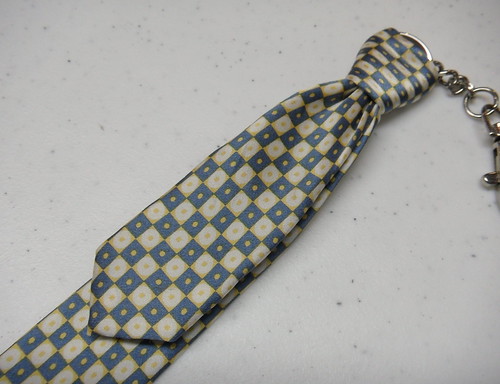
pull the tail through the ring....
and down through the "knot"....
grab the ring and the tie...pull on both to tighten...
flip your tie over....
grab your scissors and snip all the excess off...
how much to cut off?...well...try to end up with it looking like this...
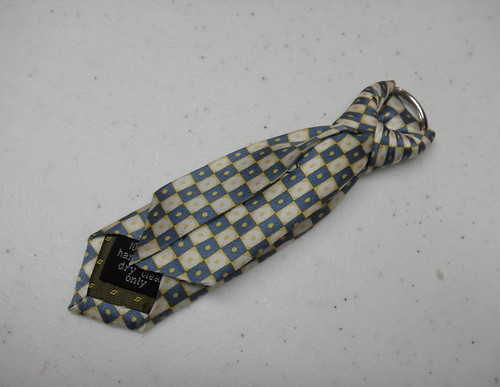
snip off the edges to mimic the front of tie...or...you can totally leave it blunt cut...then add some glue to the edges...to stop the fraying...
here's how it should look all done up on the back!...
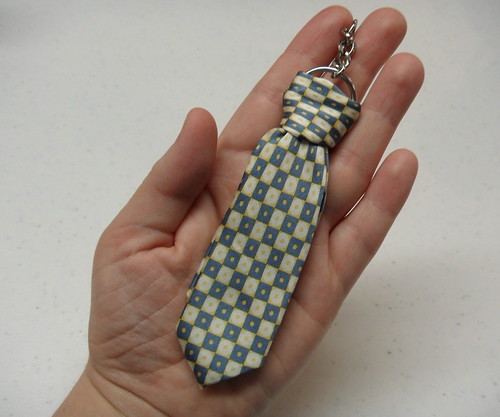
and here's the frontal shot!...
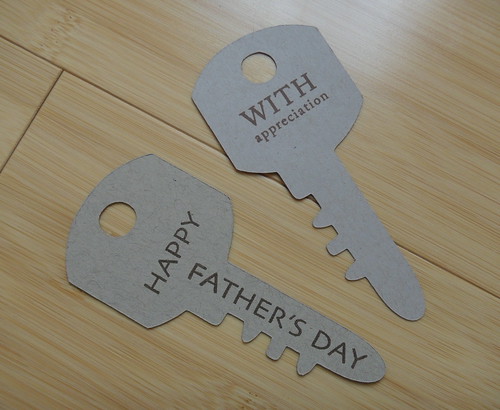
now...it's time to add the keys!...i mean...what's a keychain without 'em?...i used my cricut and a design studio cut file to do up these keys...then stamped with the perfect sentiments!...
you know....father's day isn't the only occasion for these tie-ny tokens of appreciation....anytime you need a male sorta giftie...these would be perfect!...
****check out my linky party directory to see where i'm linking to this week!...
Saturday, June 4, 2011
WASHI + TEALIGHT = ADORABLE
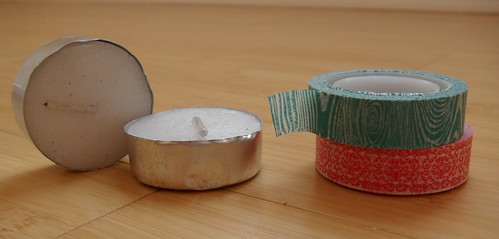
so...i'm quite the fan of washi paper tape...mainly get it off etsy...but some popular companies are starting to do up these tiny rolls of cuteness now...well...i've had some plain tealight candles that has been staring at me to do something with 'em...and with my new motto..."when in doubt, washi it out"...grabbed some rolls and got to wrapping!...
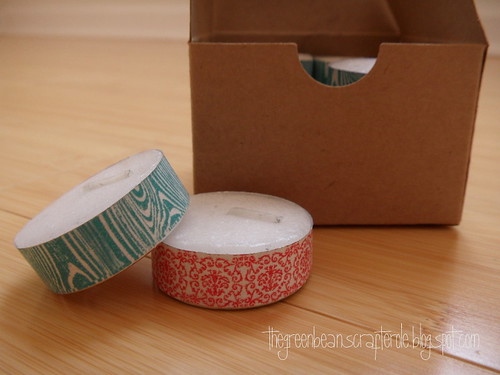
now...to package up these cuties...found this little kraft box in my stash...stamped it with a very fitting sentiment from pink by design...packed 12 tealights in there...tied together the whole design with wrapping some of the washi around the box...
here's an aerial shot...lol...
pop open the box let the cuteness out!....this is such an easy peasy project!...plus...it covers all that banged up ugliness that these little guys are known for...
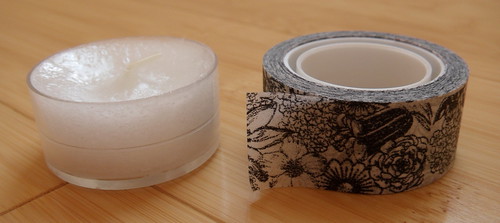
you don't have to only do this project with the metal tealights...these are some yankee candle votives that i had on hand...even with the clean lines of the clear...still doesn't hurt to add a little something something!....
oh...and no box for packaging?...just pick yourself up a tiny little votive holder...stack 'em in there...and tie with a coordinating bow!...now you've got a gift in a gift!...
i might not be the best at math...but i do know that washi tape + tealight does equal adorable!....
****check out my linky party directory to see where i'm linking to this week!...